Project: Building a Comprehensive DevSecOps CI/CD Pipeline for Node.js Todo Application

DevOps Enthusiast || BCA Grad || MCA Pursuing | AWS, Docker, Kubernetes || Automation Specialist || Git & GitHub || Terraform || Seeking Entry-Level Opportunities.
This is#90DaysofDevopschallenge under the guidance ofShubham Londhesir.
Introduction
In today's dynamic software development landscape, DevOps and DevSecOps have become essential practices for ensuring efficient collaboration, rapid delivery, and enhanced security throughout the software development lifecycle. In this comprehensive guide, we'll walk through the steps to set up an end-to-end DevSecOps pipeline using a variety of tools and technologies.
Tools Used:
Linux
Git and GitHub
Docker
Docker-compose
Jenkins CI/CD
SonarQube
OWASP Dependency-Check
Trivy
Pre-requisites:
To implement this project, ensure you have an AWS EC2 instance (Ubuntu) with the instance type t2.large and a root volume of 15GB. Additionally, you need the following tools installed:
Jenkins
Docker and docker-compose
Trivy
SonarQube Server
Step 1: Setting up AWS EC2 Instance:
Log in to your AWS Management Console.
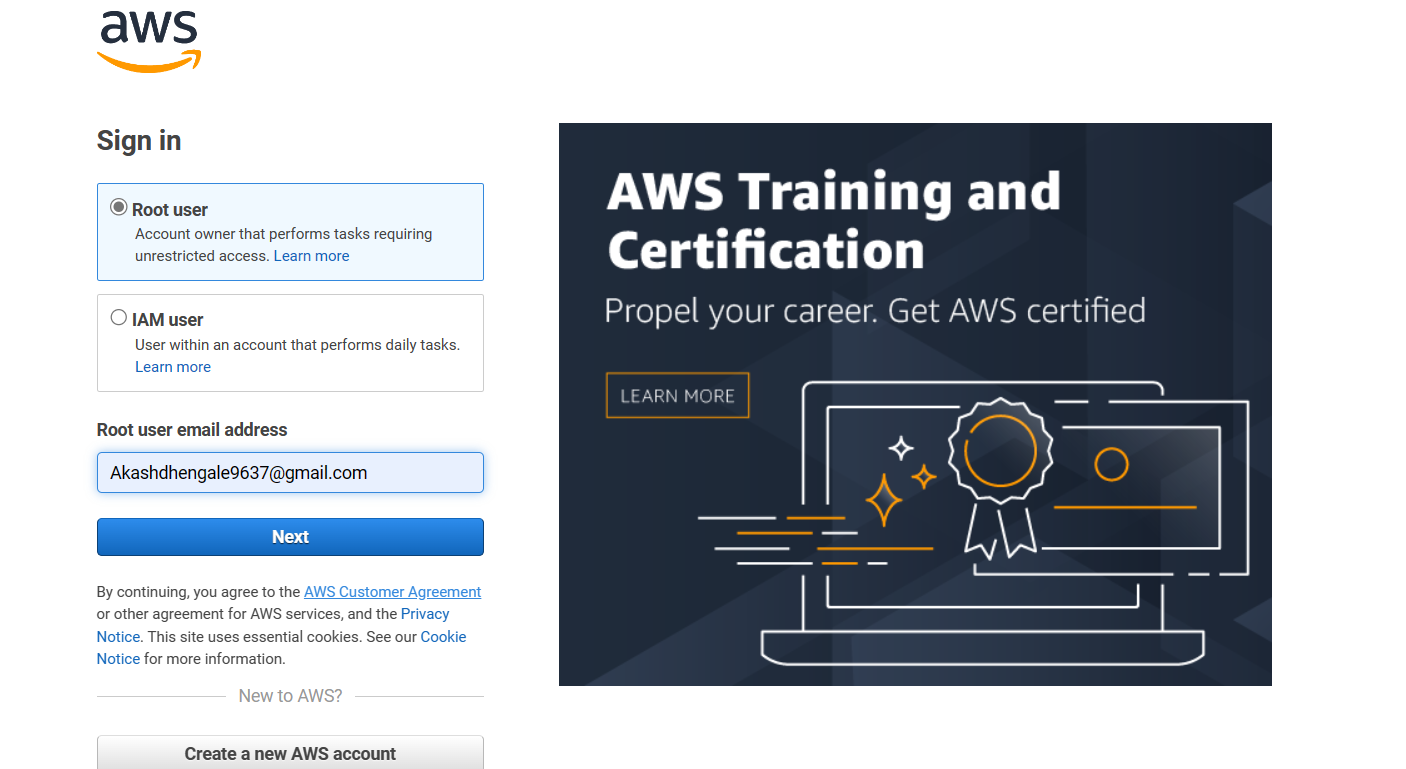
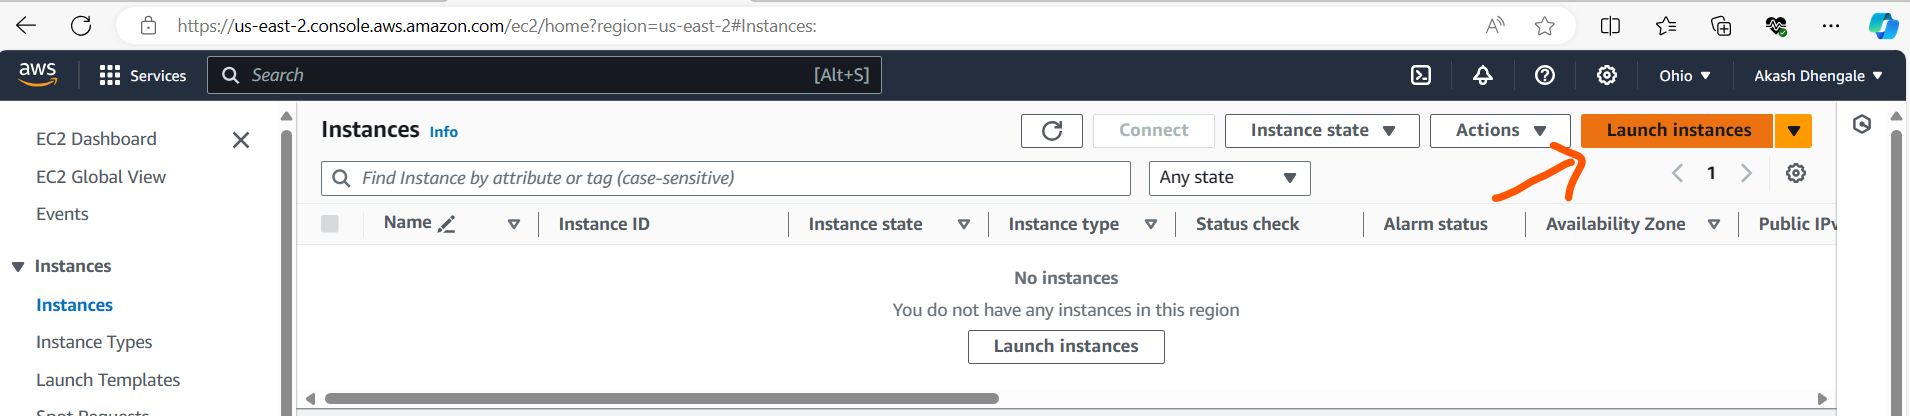
Navigate to the EC2 dashboard.

Click on the "Launch Instance" button.
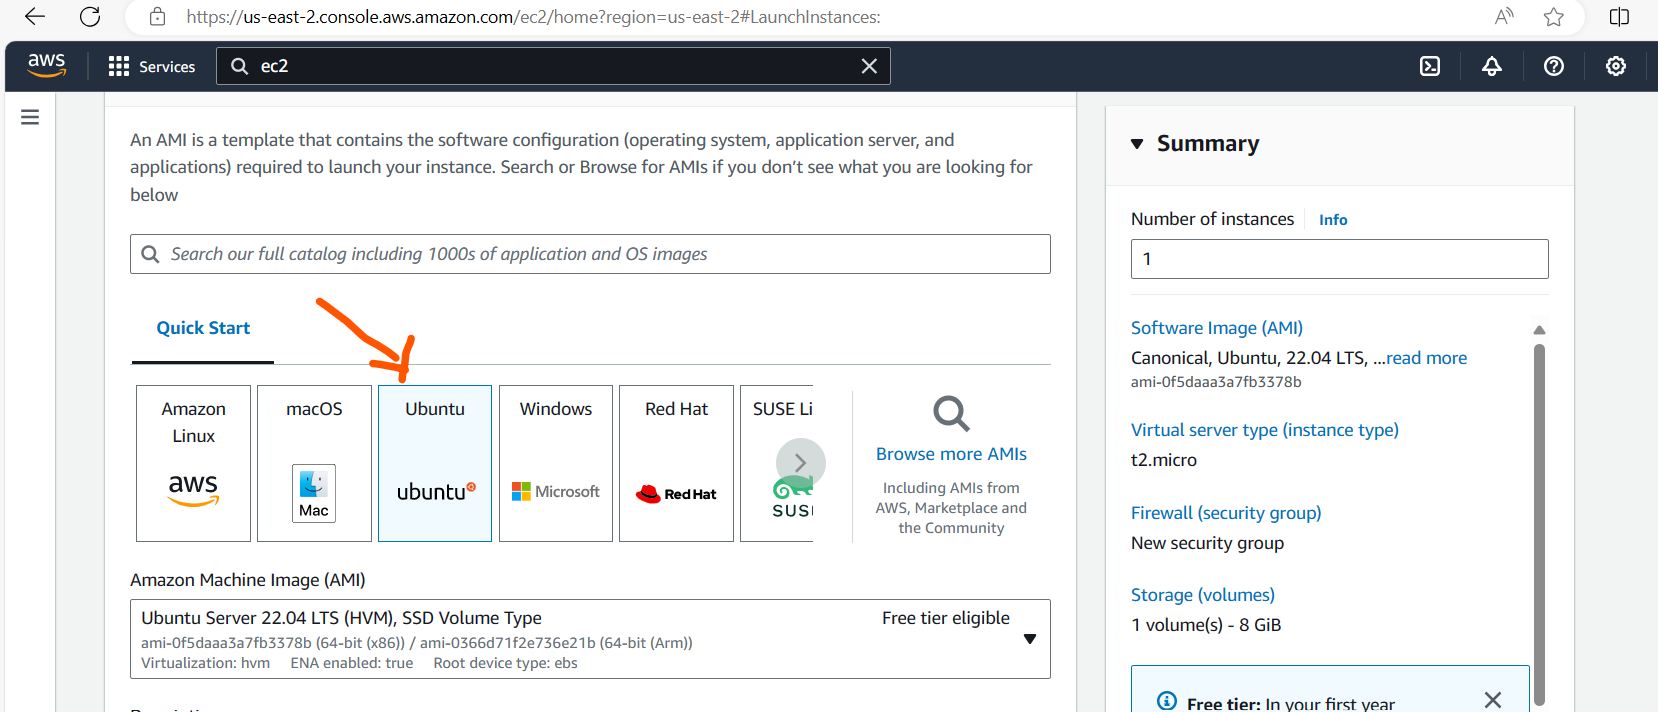
Choose the Ubuntu AMI (Amazon Machine Image) for your instance.
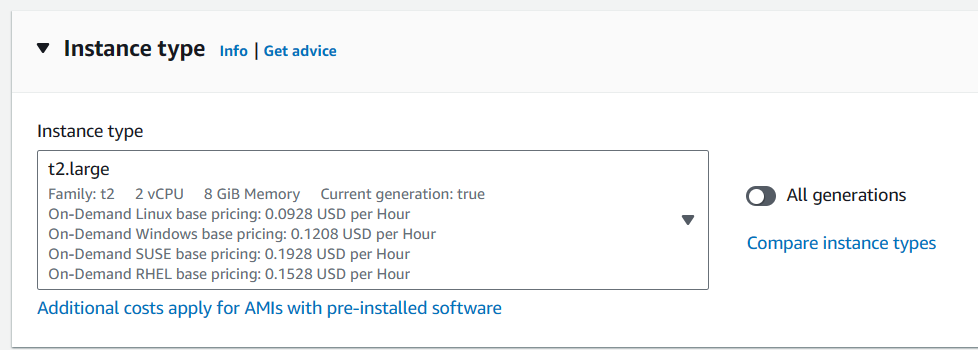
Select the instance type as t2.large to meet the project requirements.
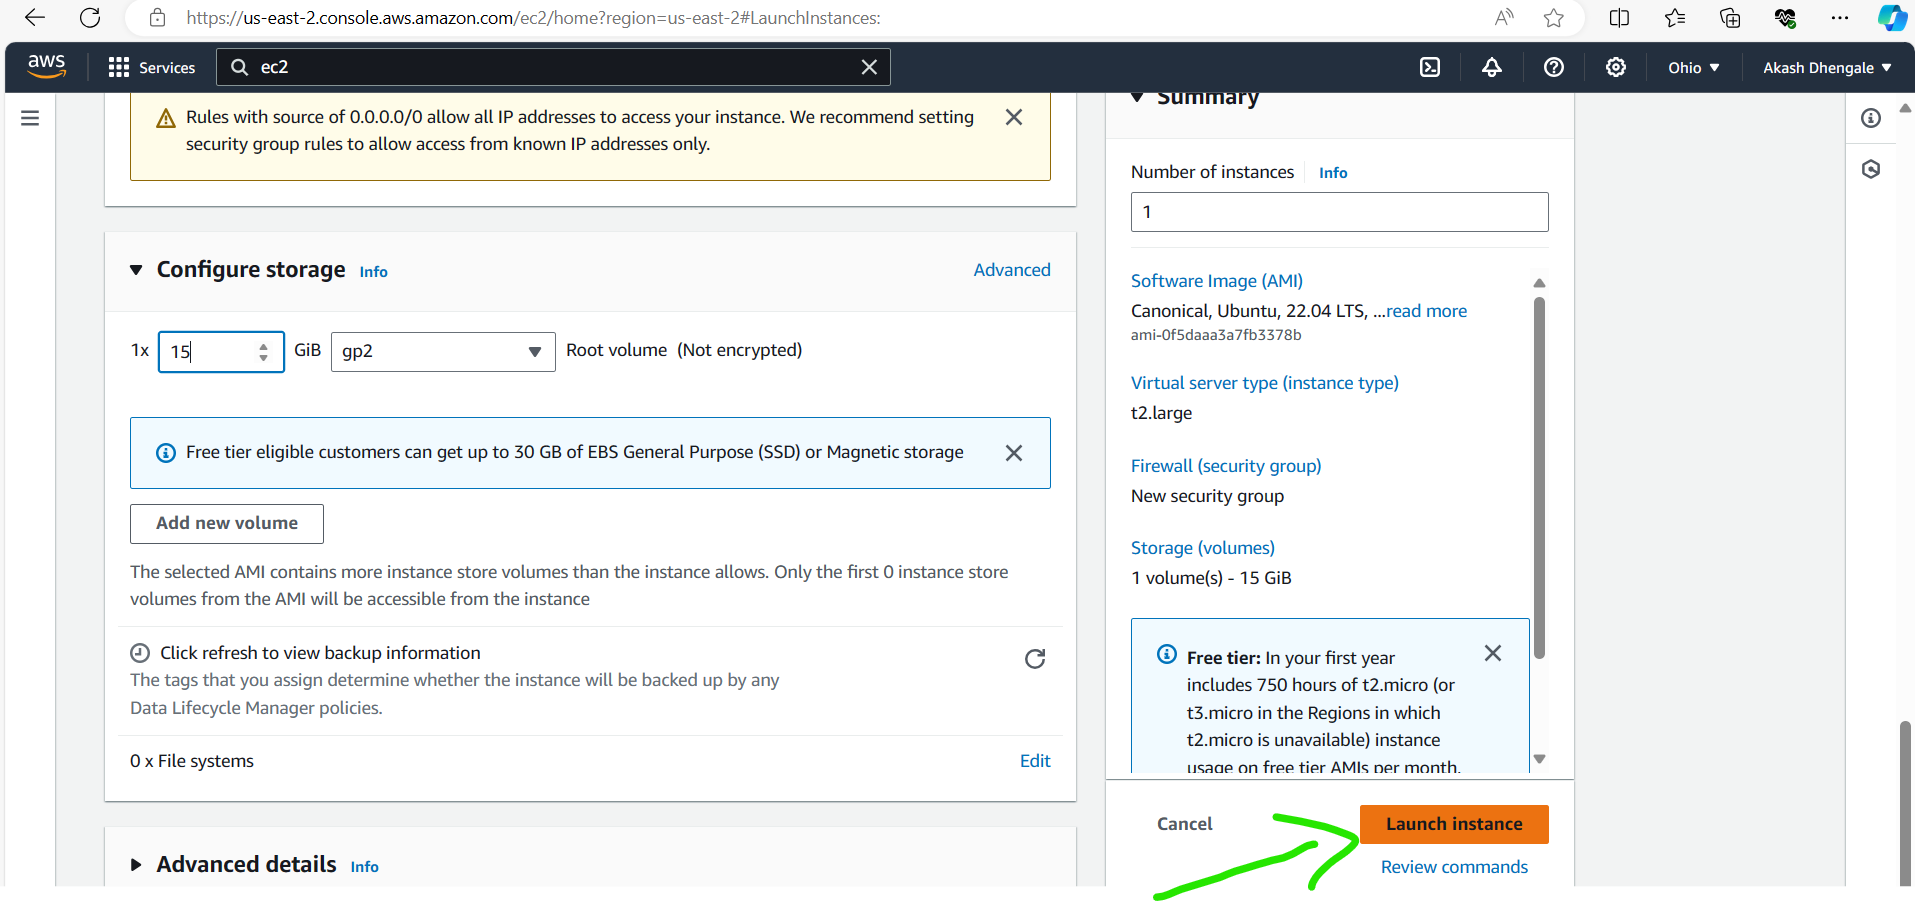
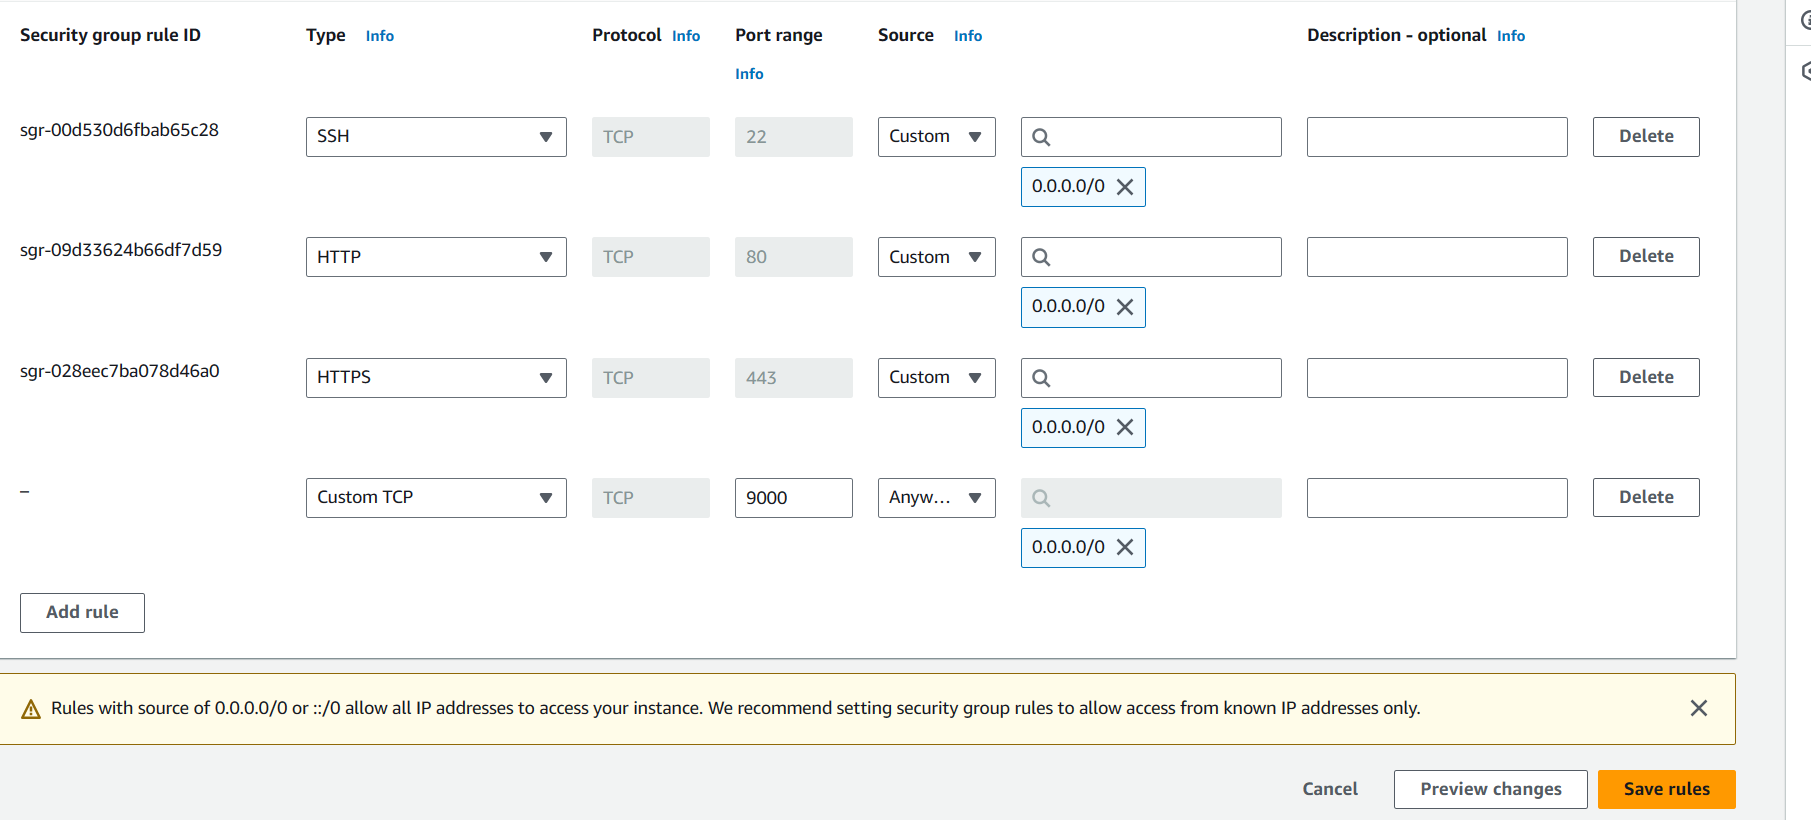
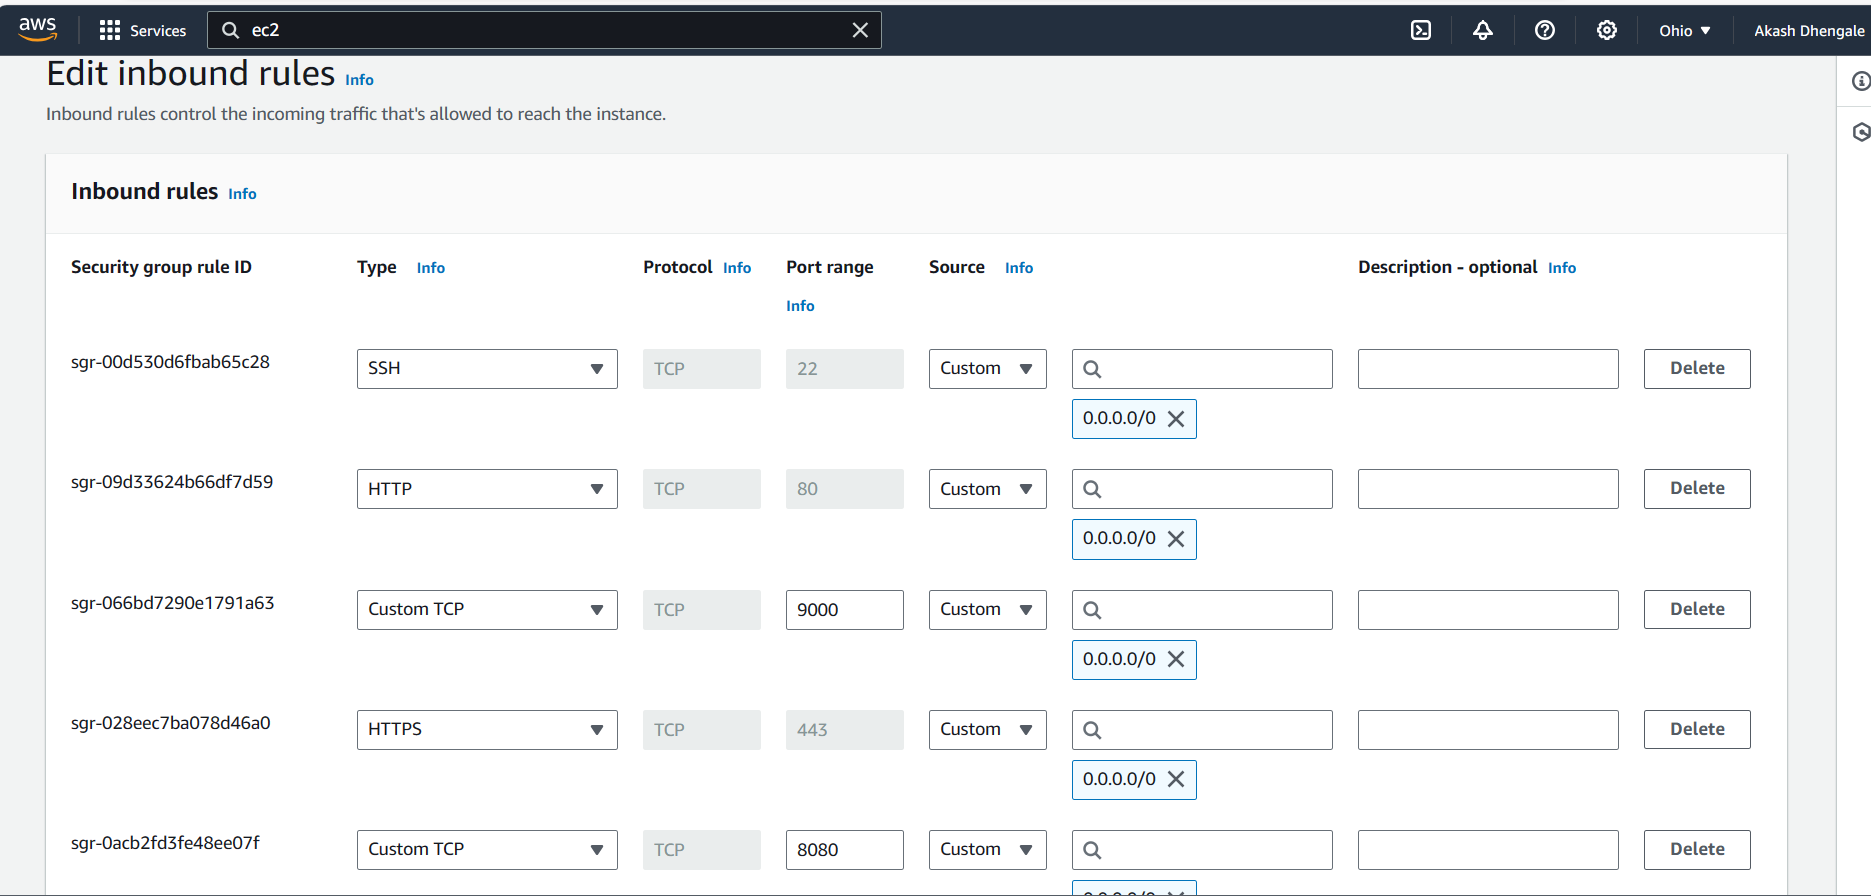
Configure the instance settings, including network, subnet, security groups, and storage. Ensure the root volume is set to 15GB.
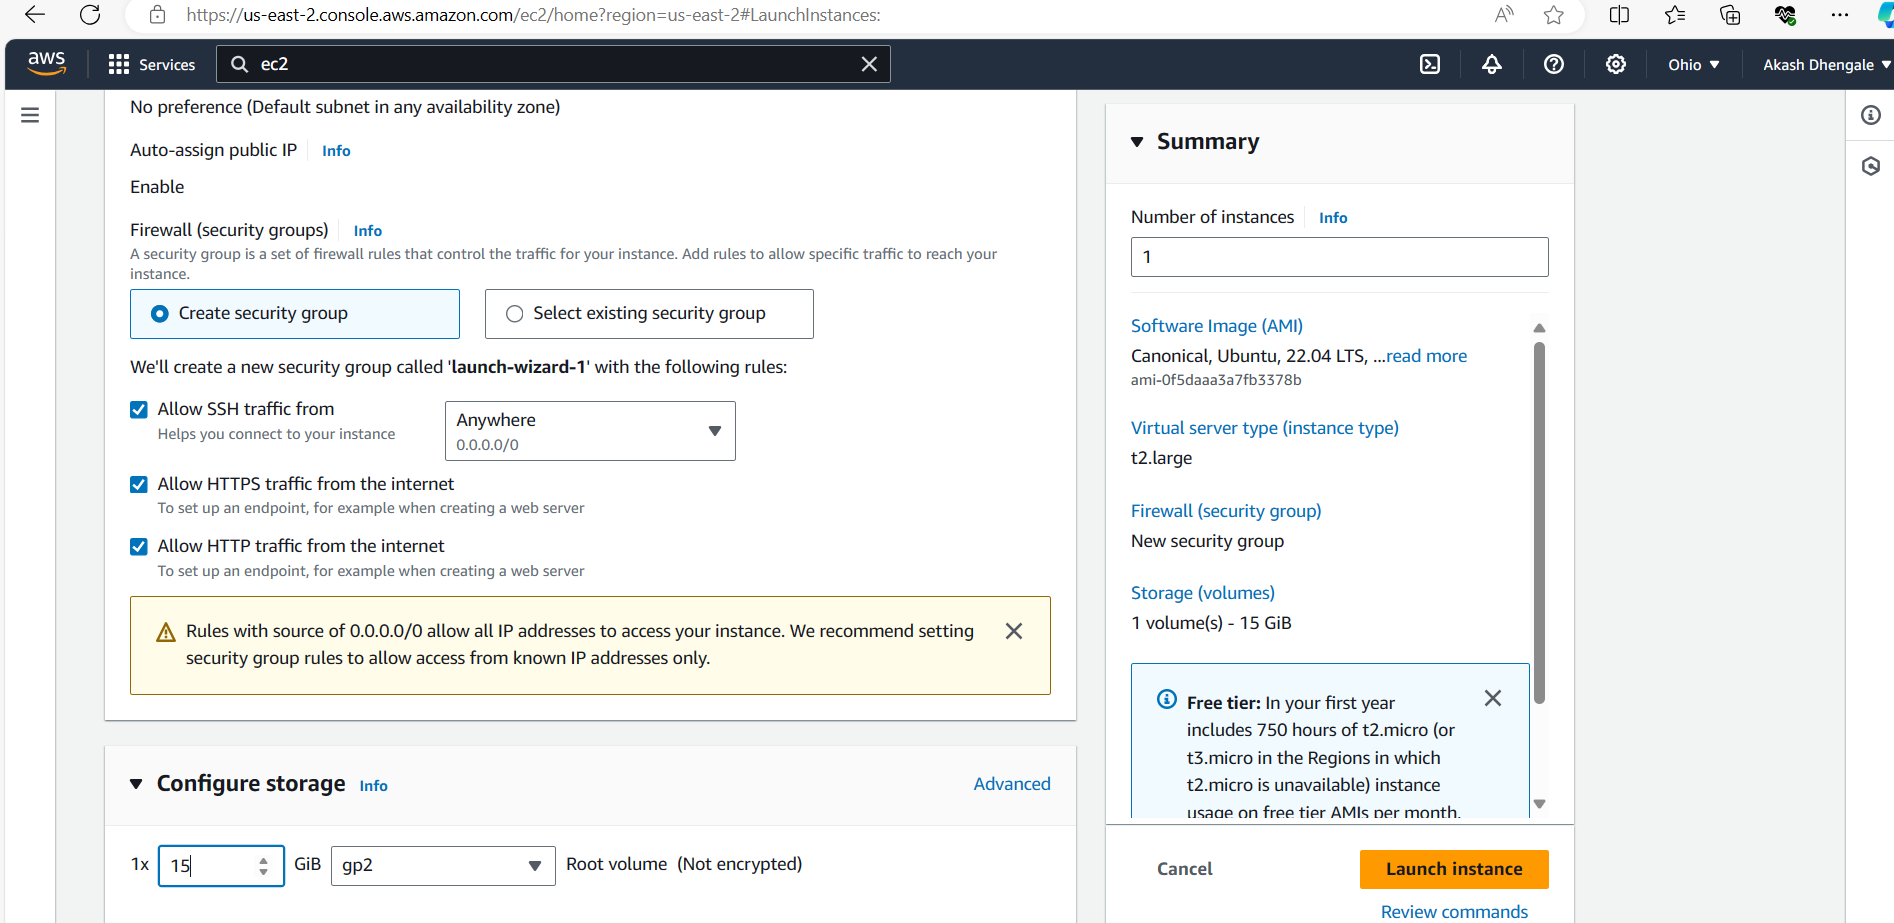
Review and launch the instance, then select or create a key pair for SSH access.
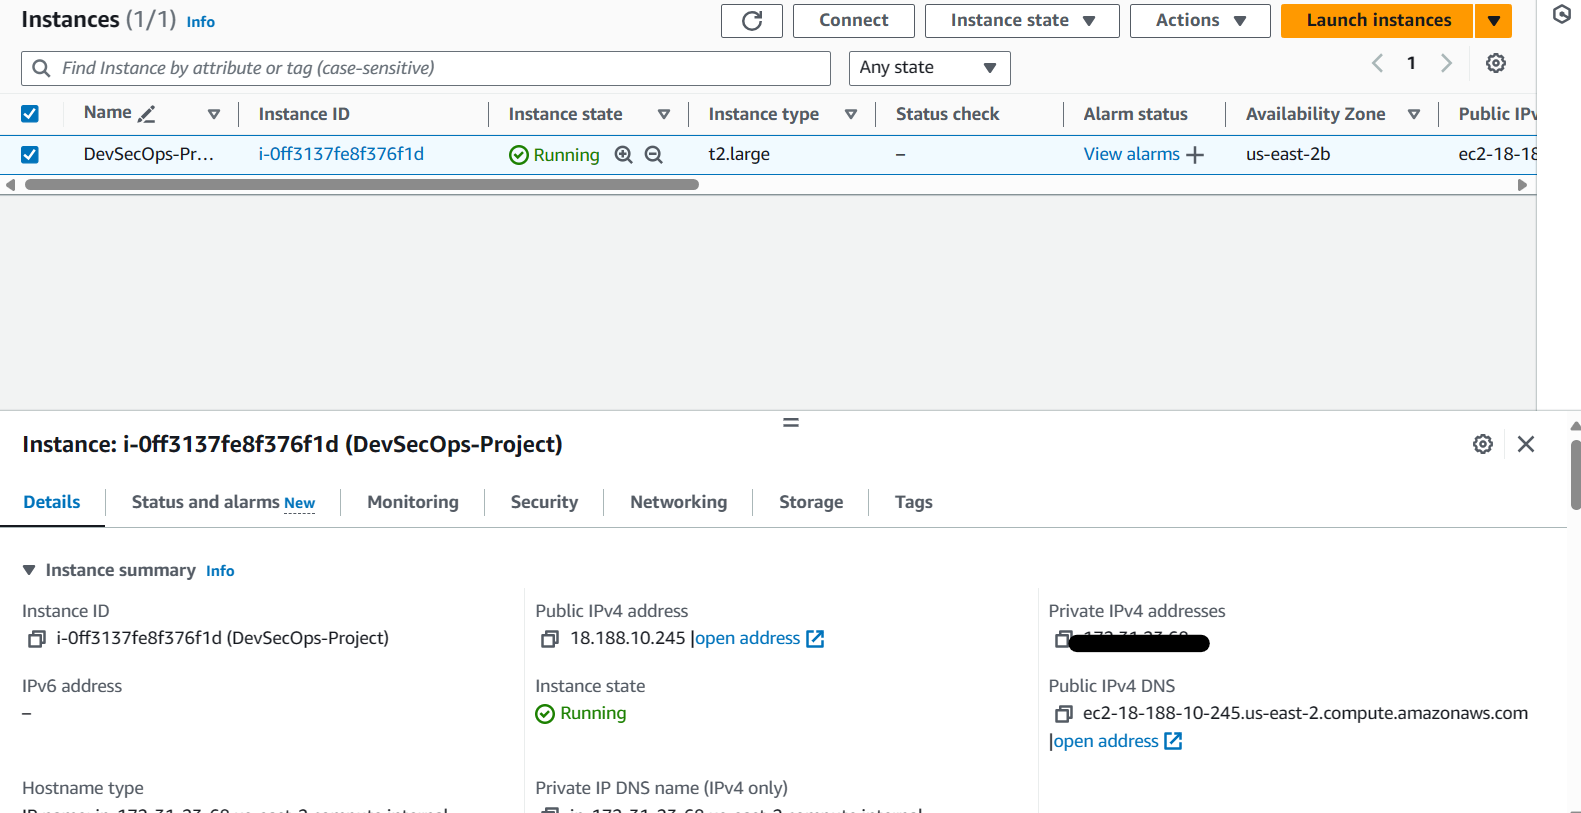
Once the instance is launched, note down the public IP address for later use.
Step 2: Installing Java (Pre-requisite before Installing Jenkins):
Before installing Jenkins, it's crucial to ensure that Java is installed on your Ubuntu instance. Jenkins requires Java to run.
SSH into your AWS EC2 instance using the key pair you created.
Install Java:
Before proceeding, update the package index:sudo apt-get update
Then, install the default Java Development Kit (JDK):
 sudo apt install fontconfig openjdk-17-jre
 java -version

This command installs the default JDK package, which includes the Java Runtime Environment (JRE) and other necessary components for Java development.
Step 3: Installing Jenkins:
Update the package repository by running:
sudo apt-get update
Install Jenkins by adding the repository key, enabling the repository, and installing Jenkins:
 sudo wget -O /usr/share/keyrings/jenkins-keyring.asc \
   https://pkg.jenkins.io/debian-stable/jenkins.io-2023.key
 echo deb [signed-by=/usr/share/keyrings/jenkins-keyring.asc] \
   https://pkg.jenkins.io/debian-stable binary/ | sudo tee \
   /etc/apt/sources.list.d/jenkins.list > /dev/null
 sudo apt-get update
 sudo apt-get install jenkins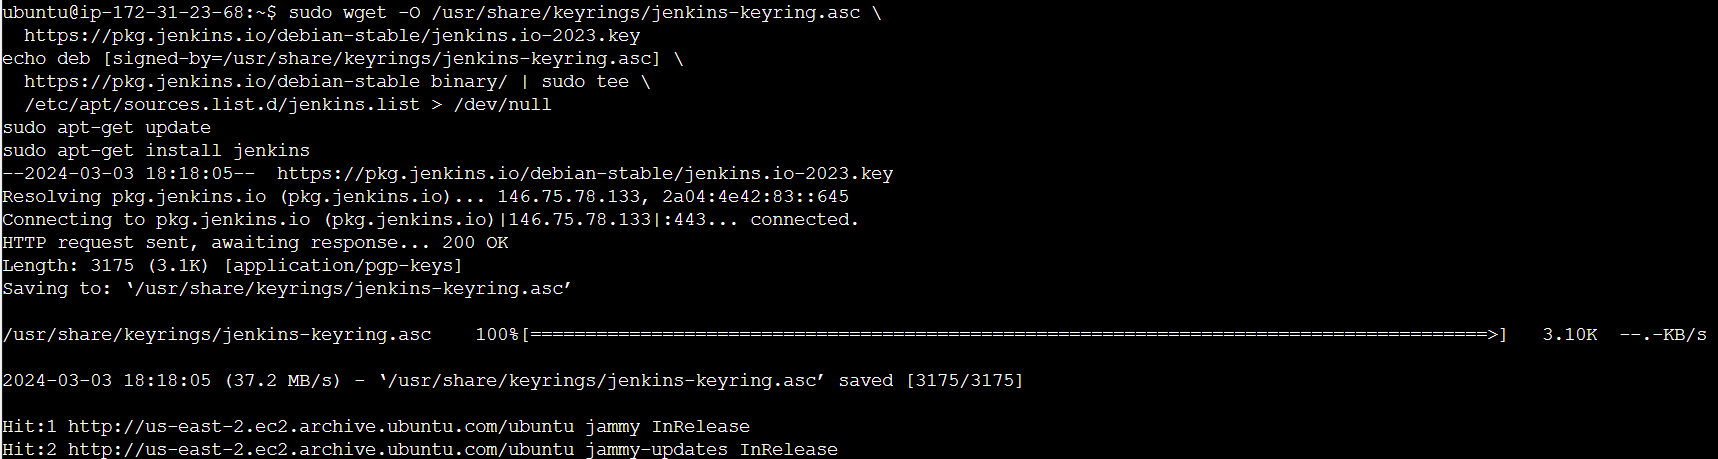
Start the Jenkins service:
sudo systemctl start jenkins
Enable Jenkins to start on boot:
sudo systemctl enable jenkins
To check the status of the Jenkins service, use the following command:
sudo systemctl status jenkins
Step 4: Installing Docker and Docker-compose:
Update the package repository (if not already done):
sudo apt-get update
Install Docker:
sudo apt-get install docker.io -y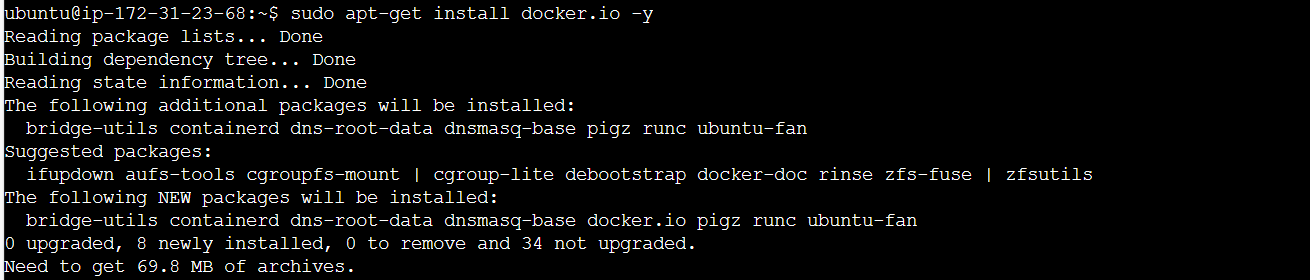
Install Docker-compose:
sudo apt-get install docker-compose -y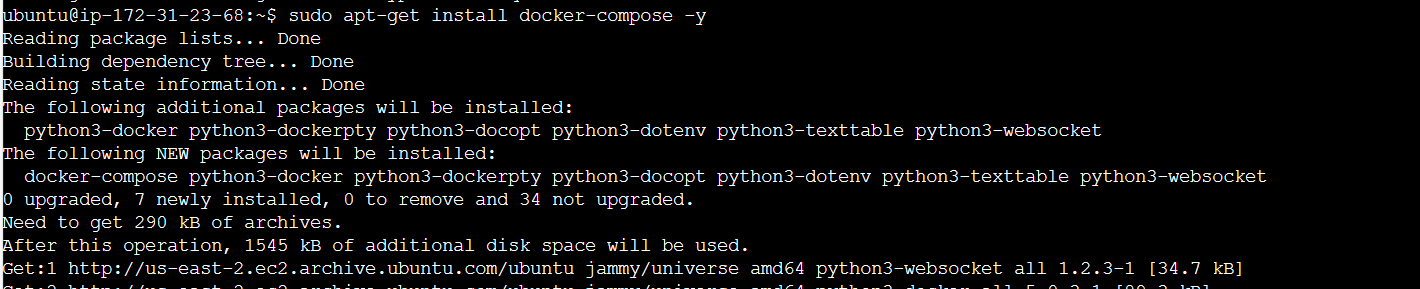
To grant Docker permissions to the Ubuntu user and the Jenkins user, execute the following commands:
 sudo usermod -aG docker $USER
 sudo usermod -aG docker jenkins
 sudo reboot
Step 5: Installing Trivy
Follow the Trivy installation guide provided by Aqua Security.
sudo apt-get install wget apt-transport-https gnupg lsb-release
wget -qO - https://aquasecurity.github.io/trivy-repo/deb/public.key | gpg --dearmor | sudo tee /usr/share/keyrings/trivy.gpg > /dev/null
echo "deb [signed-by=/usr/share/keyrings/trivy.gpg] https://aquasecurity.github.io/trivy-repo/deb $(lsb_release -sc) main" | sudo tee -a /etc/apt/sources.list.d/trivy.list
sudo apt-get update
sudo apt-get install trivy


Step 6: Setting up SonarQube Server:
Run the SonarQube Server container using Docker:
docker run -itd --name sonarqube-server -p 9000:9000 sonarqube:lts-community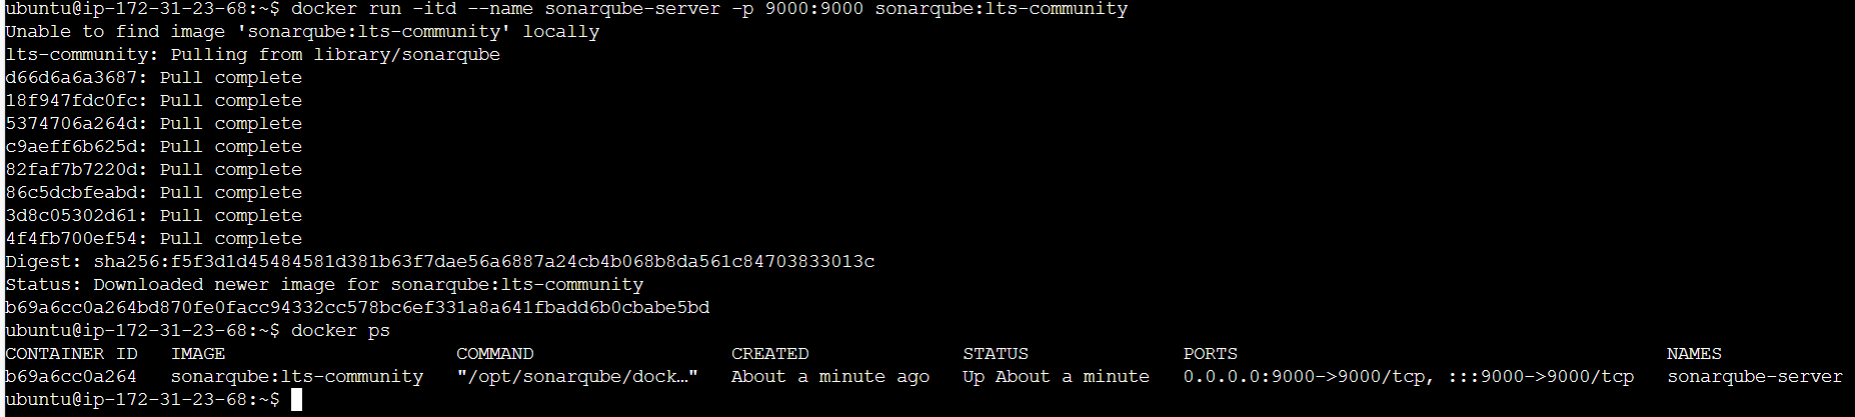
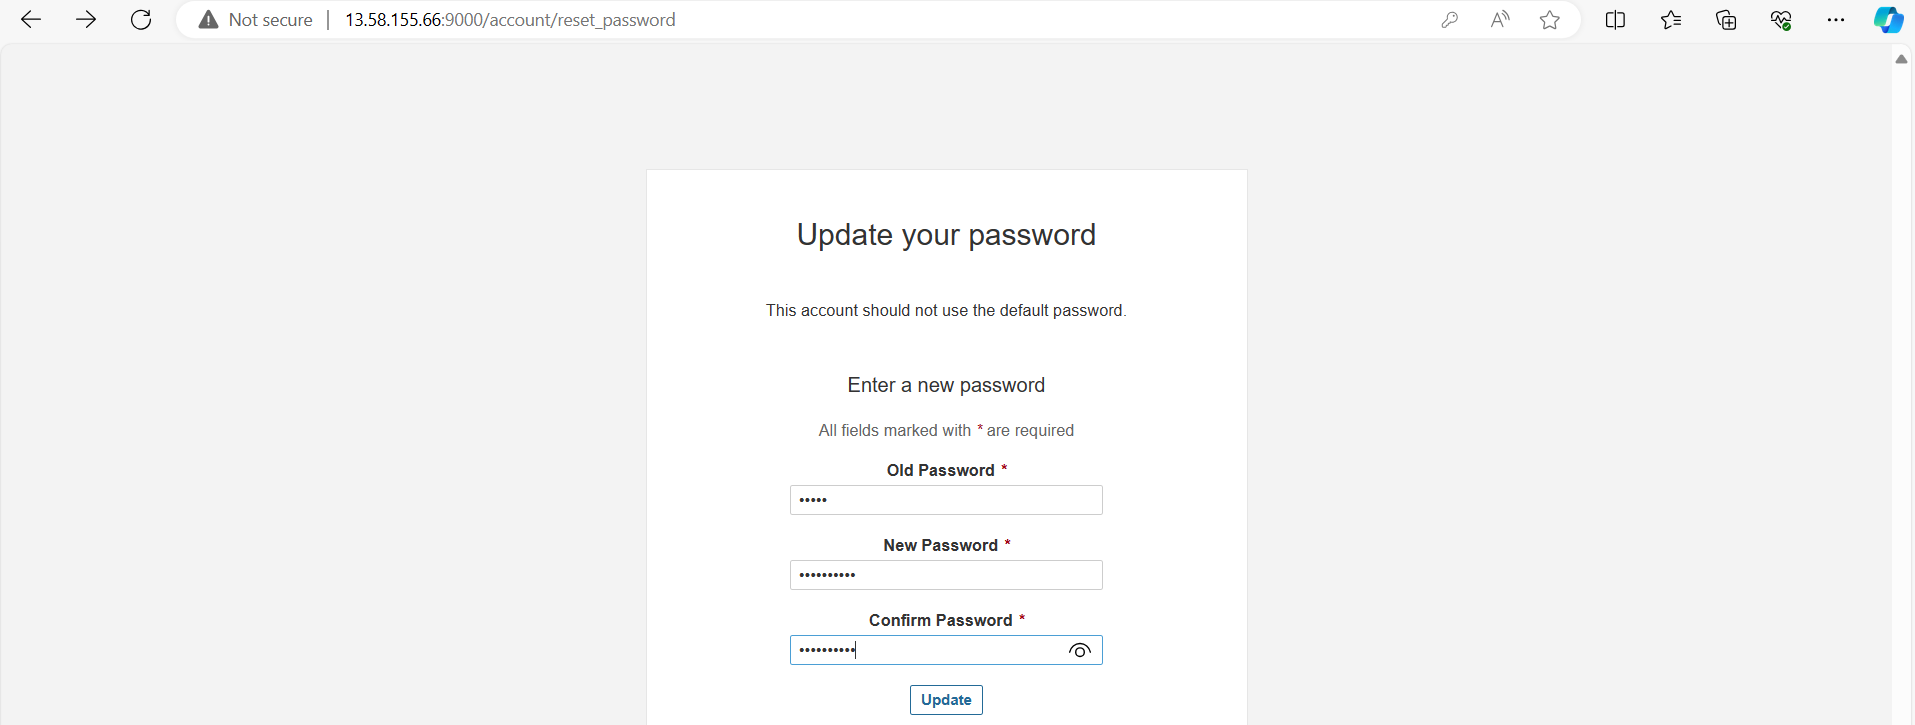
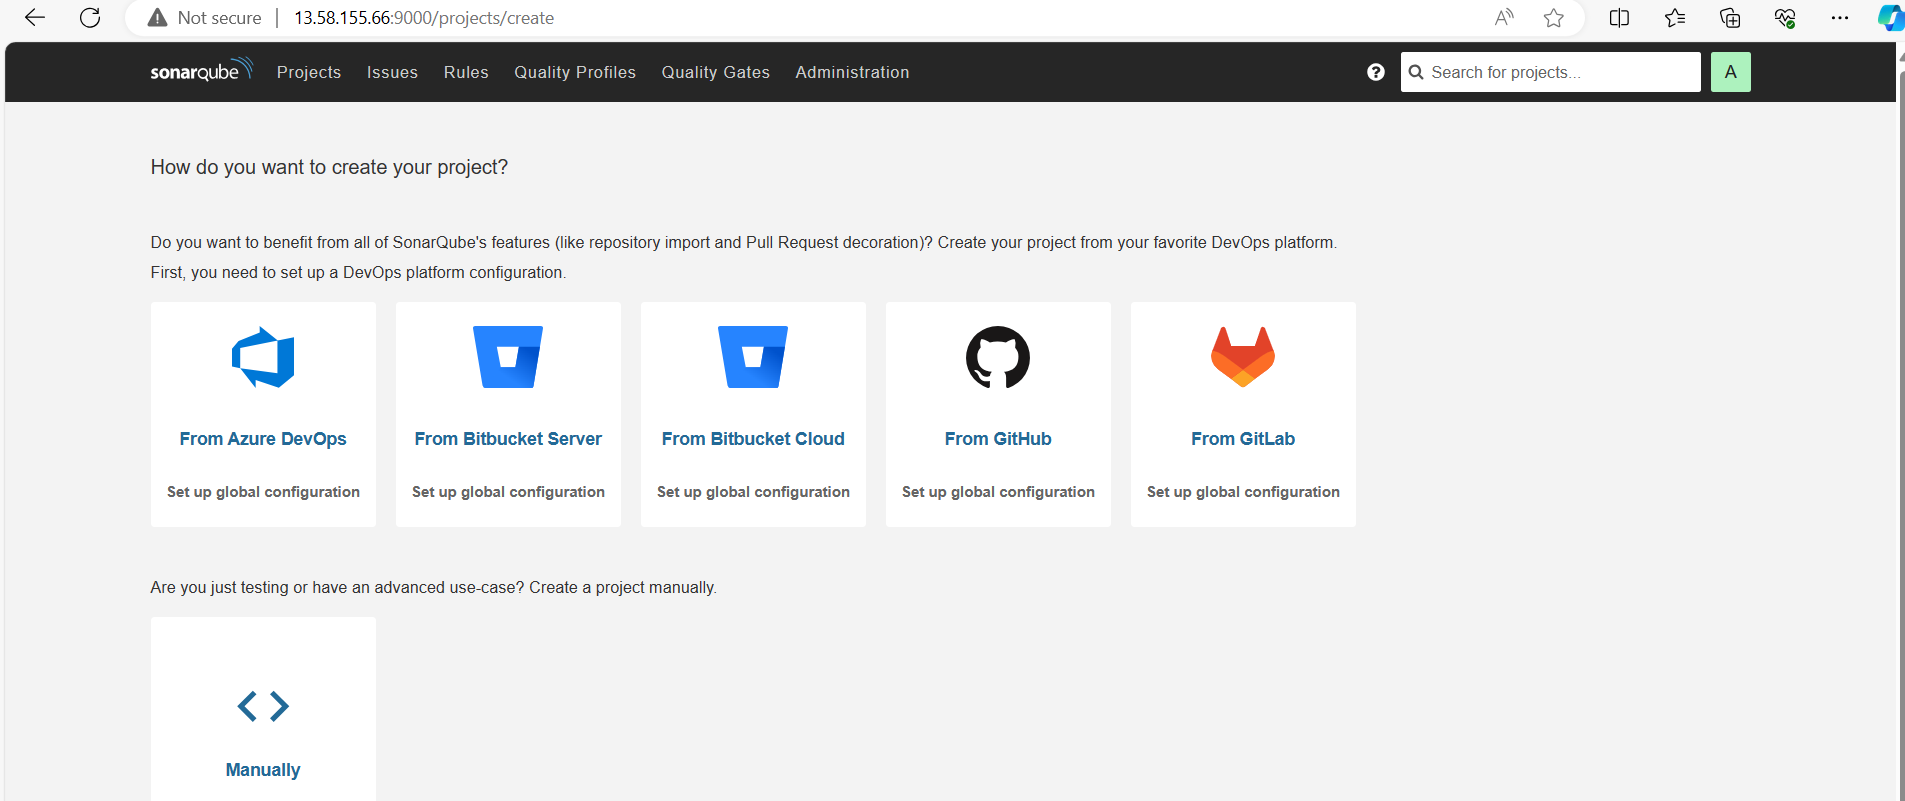
Access the SonarQube web interface by navigating to http://13.58.155.66:9000 and complete the initial setup.
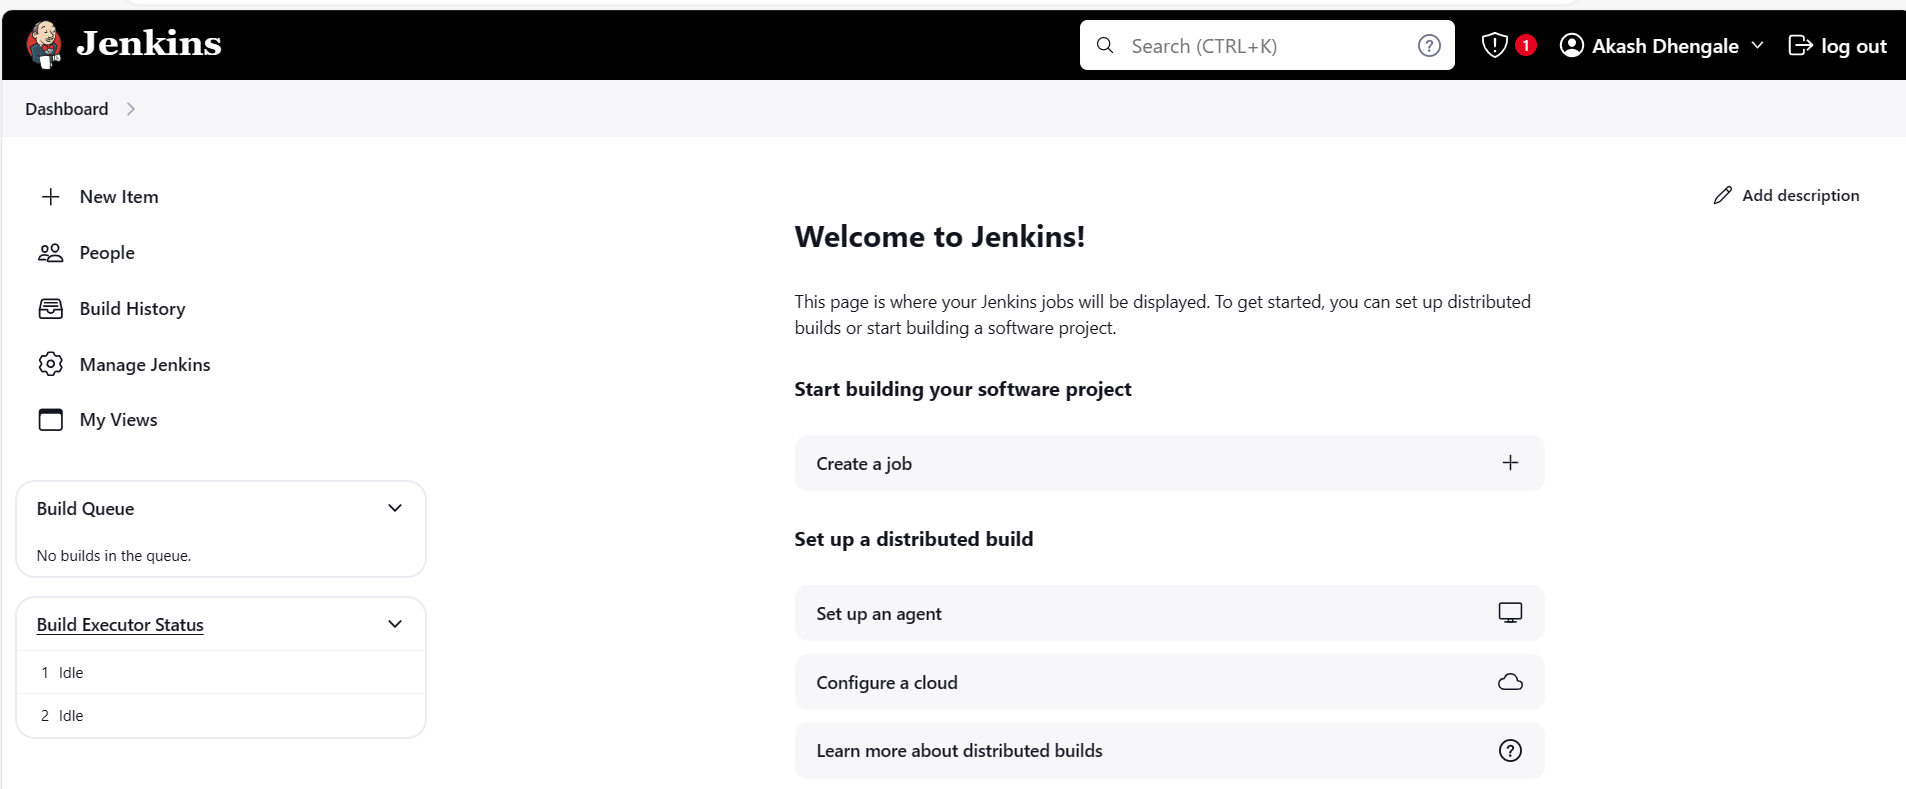
Step 7: Configuring Jenkins:
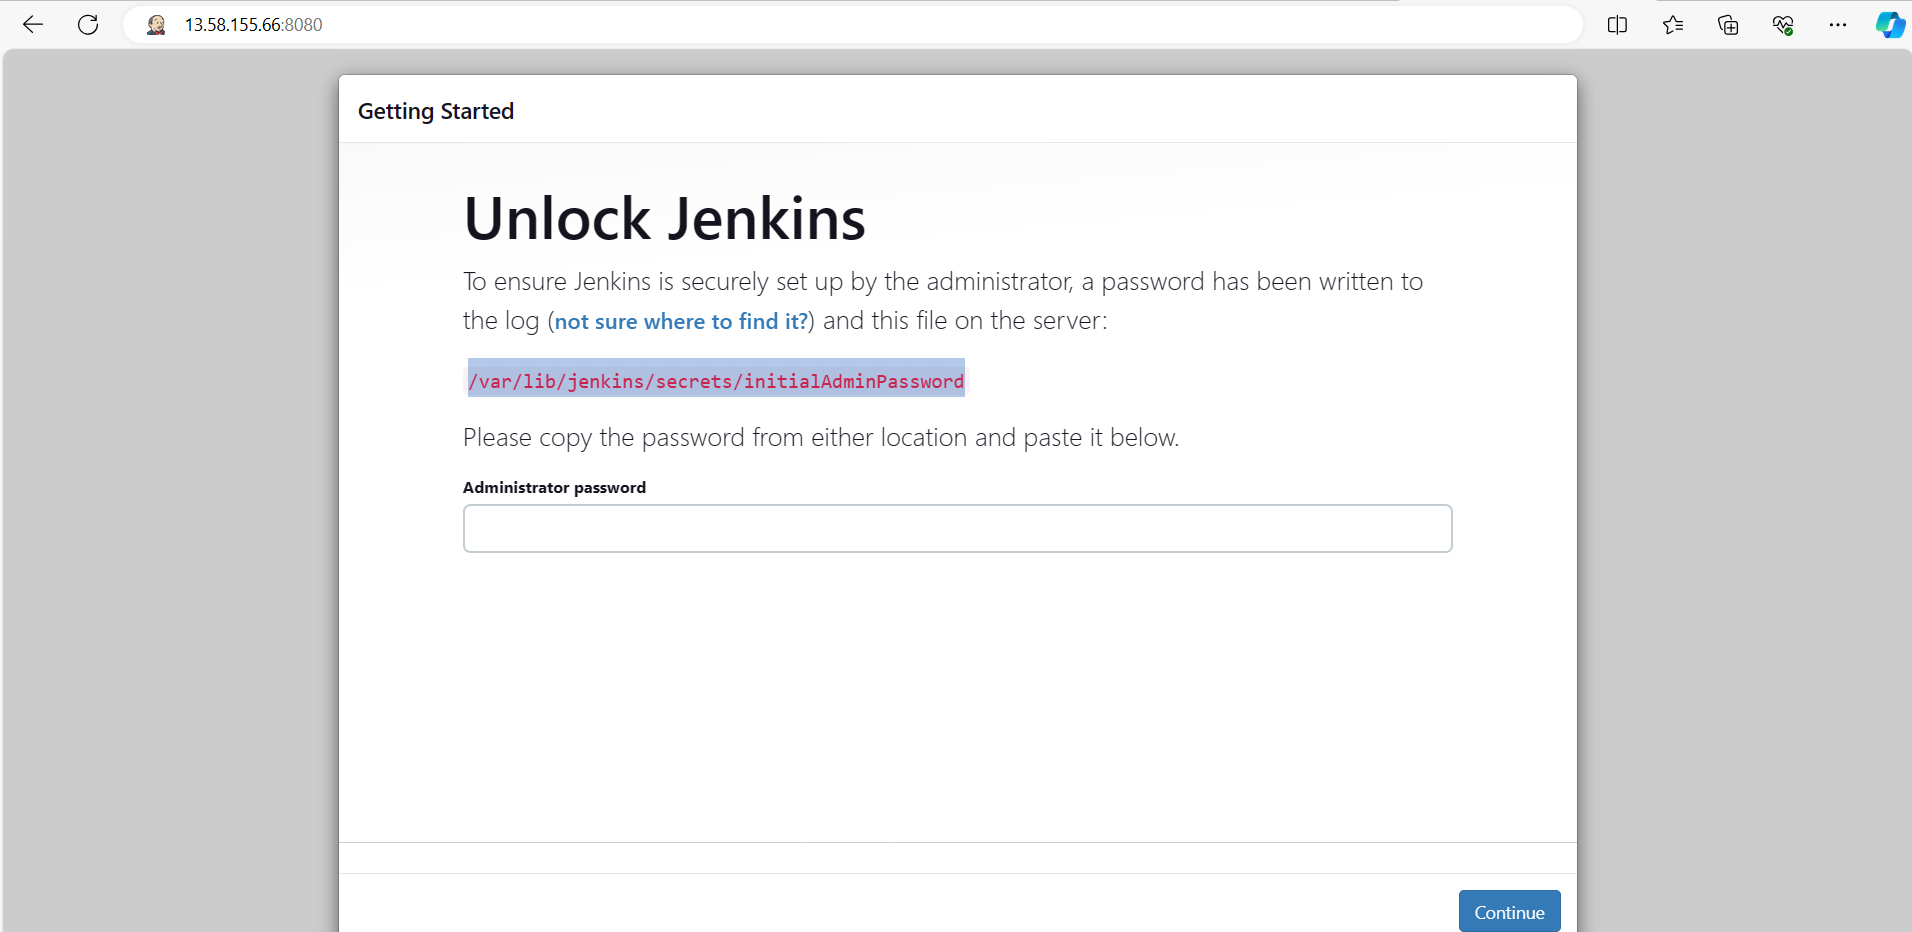
Access the Jenkins UI by navigating to http://18.218.132.143:8080/
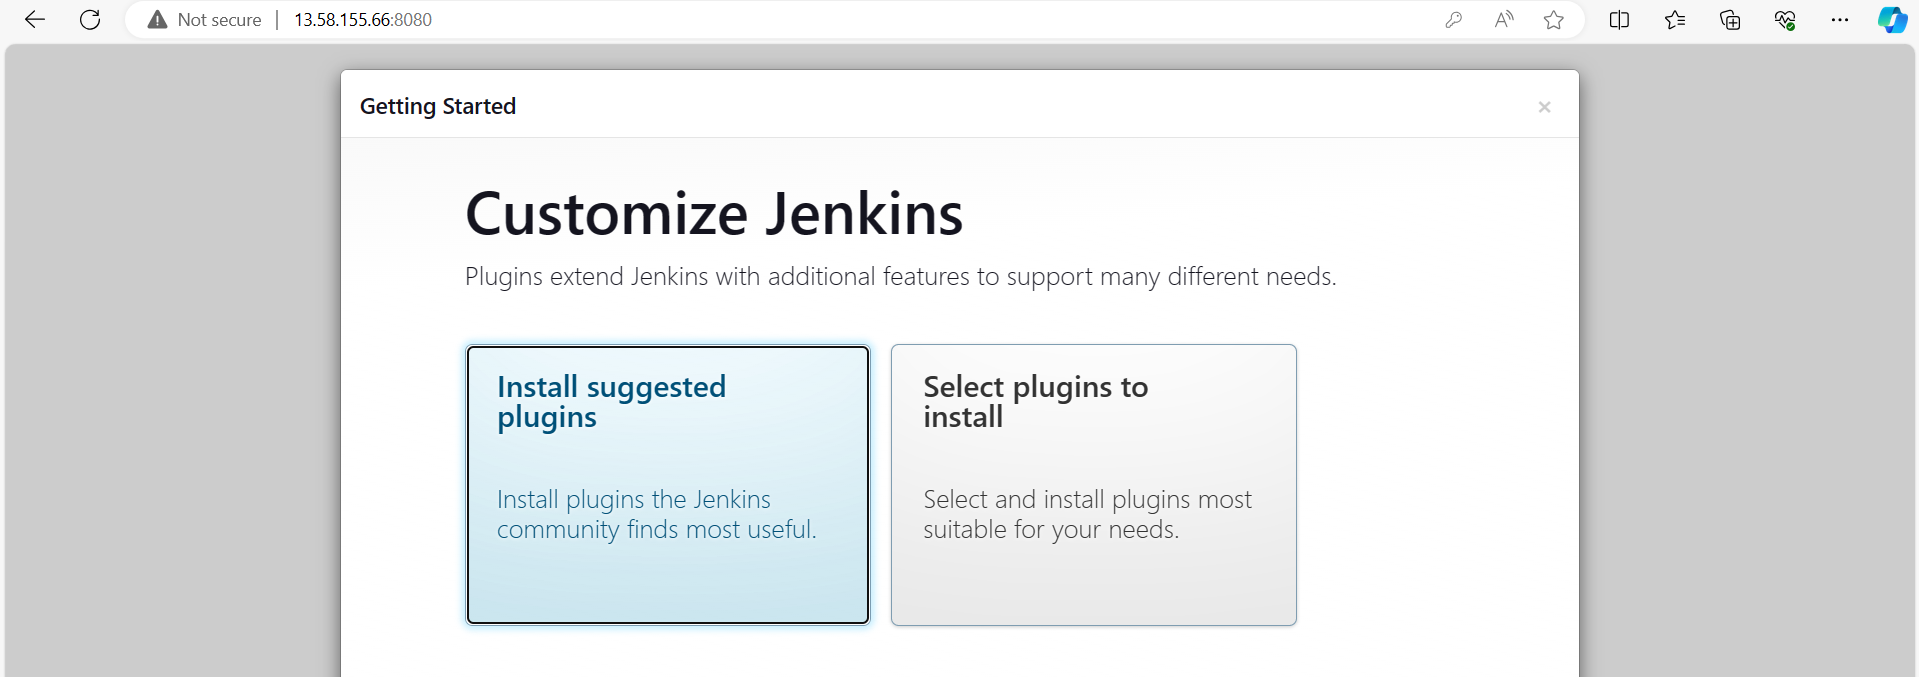
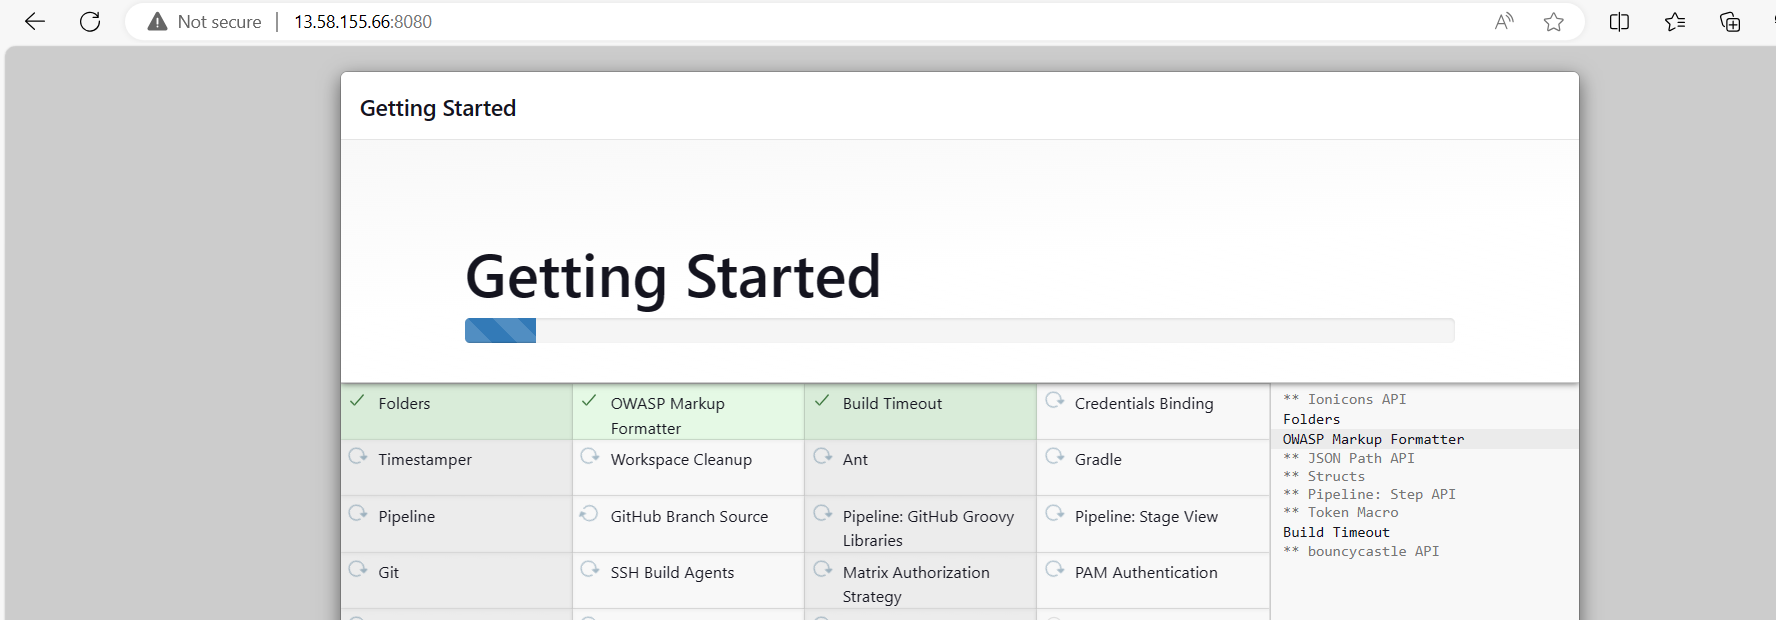
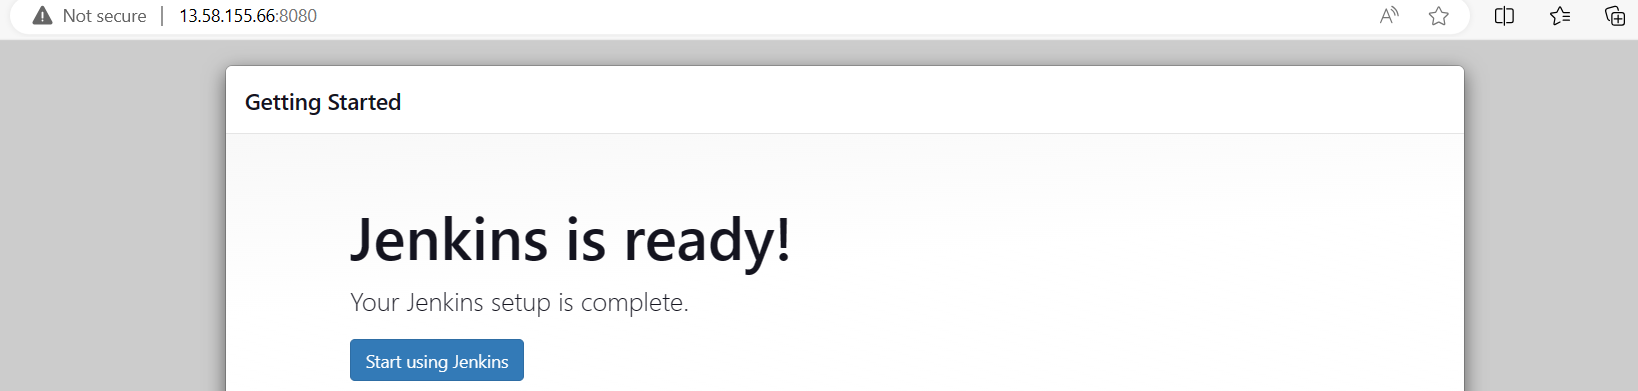
Follow the on-screen instructions to complete the Jenkins setup wizard, including obtaining the initial admin password.
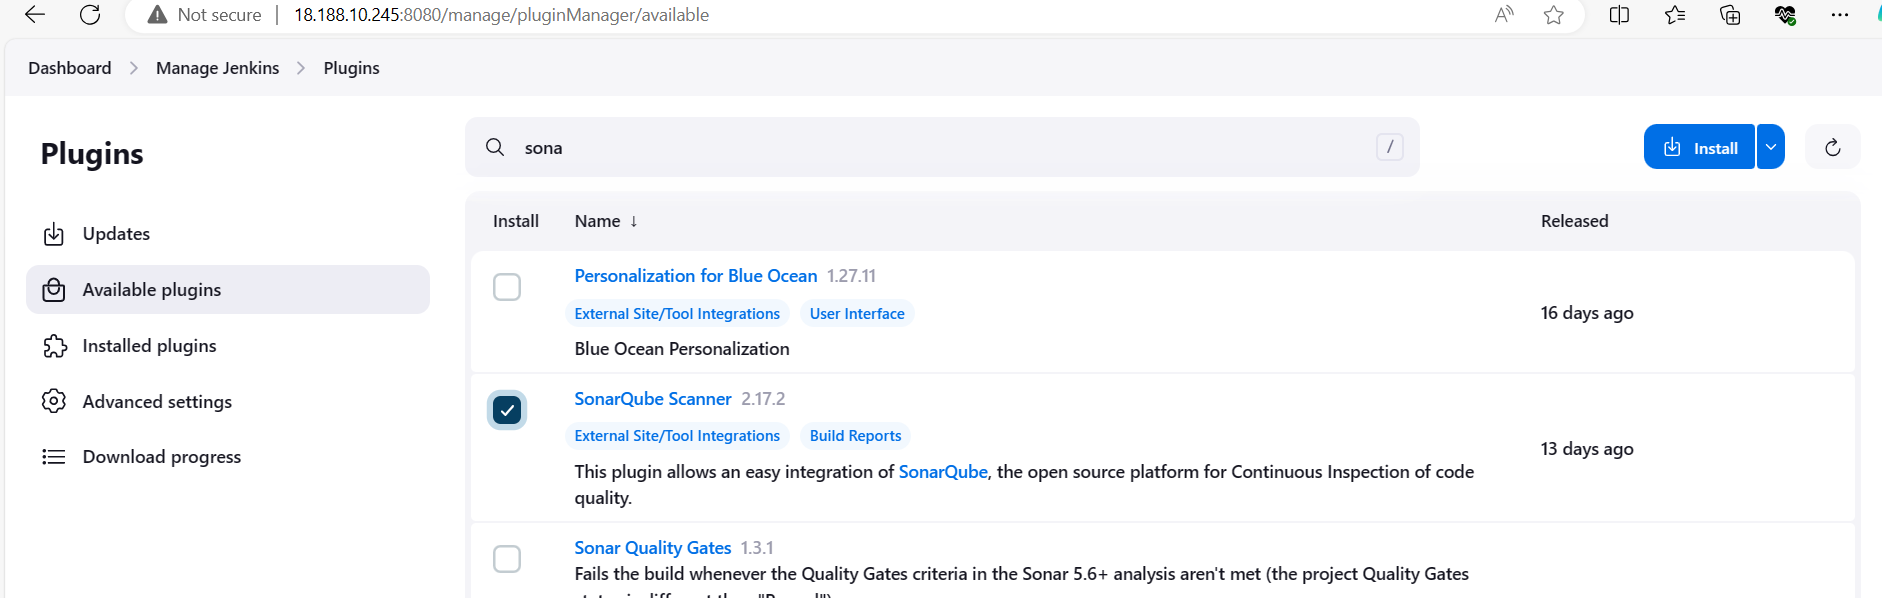
Install the required plugins listed in the project description via the Jenkins plugin manager.
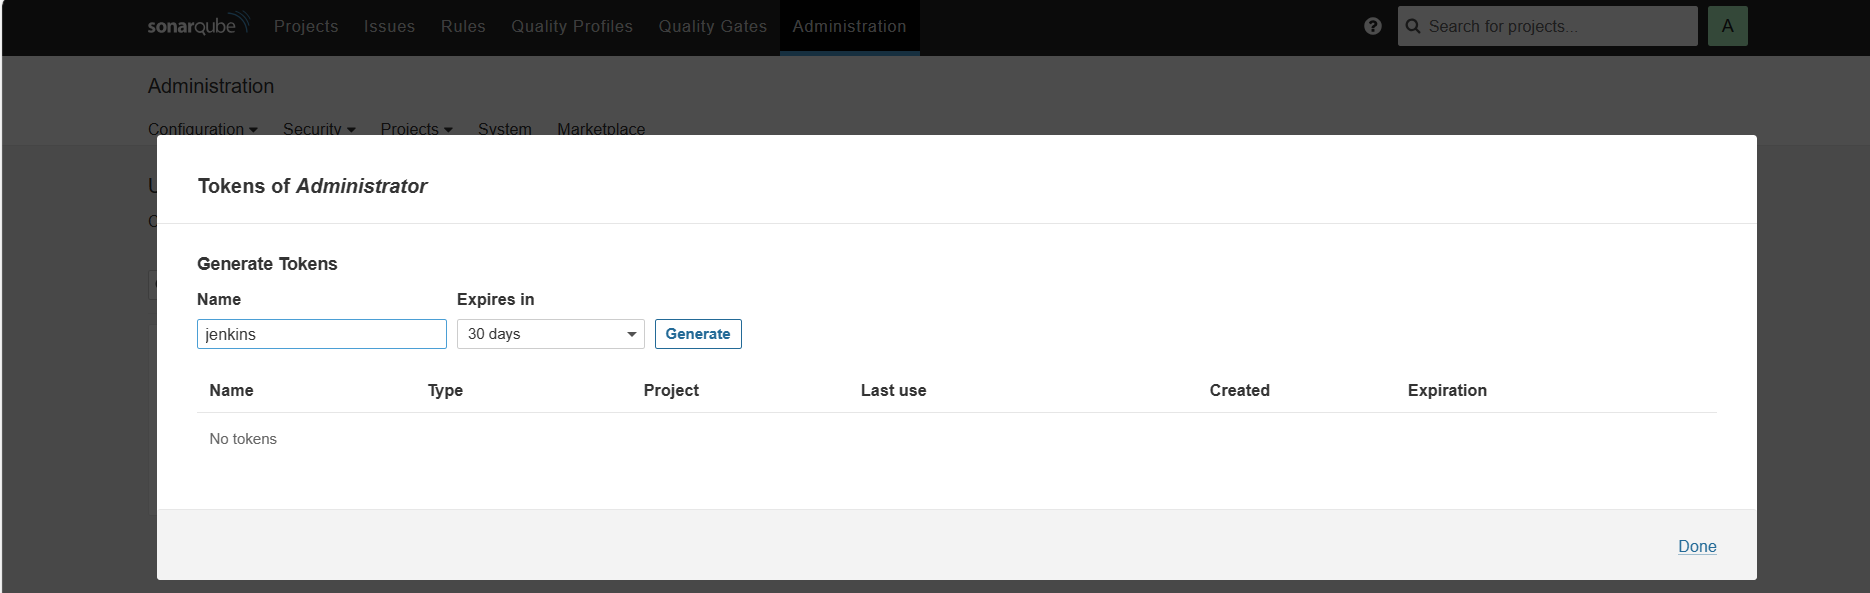
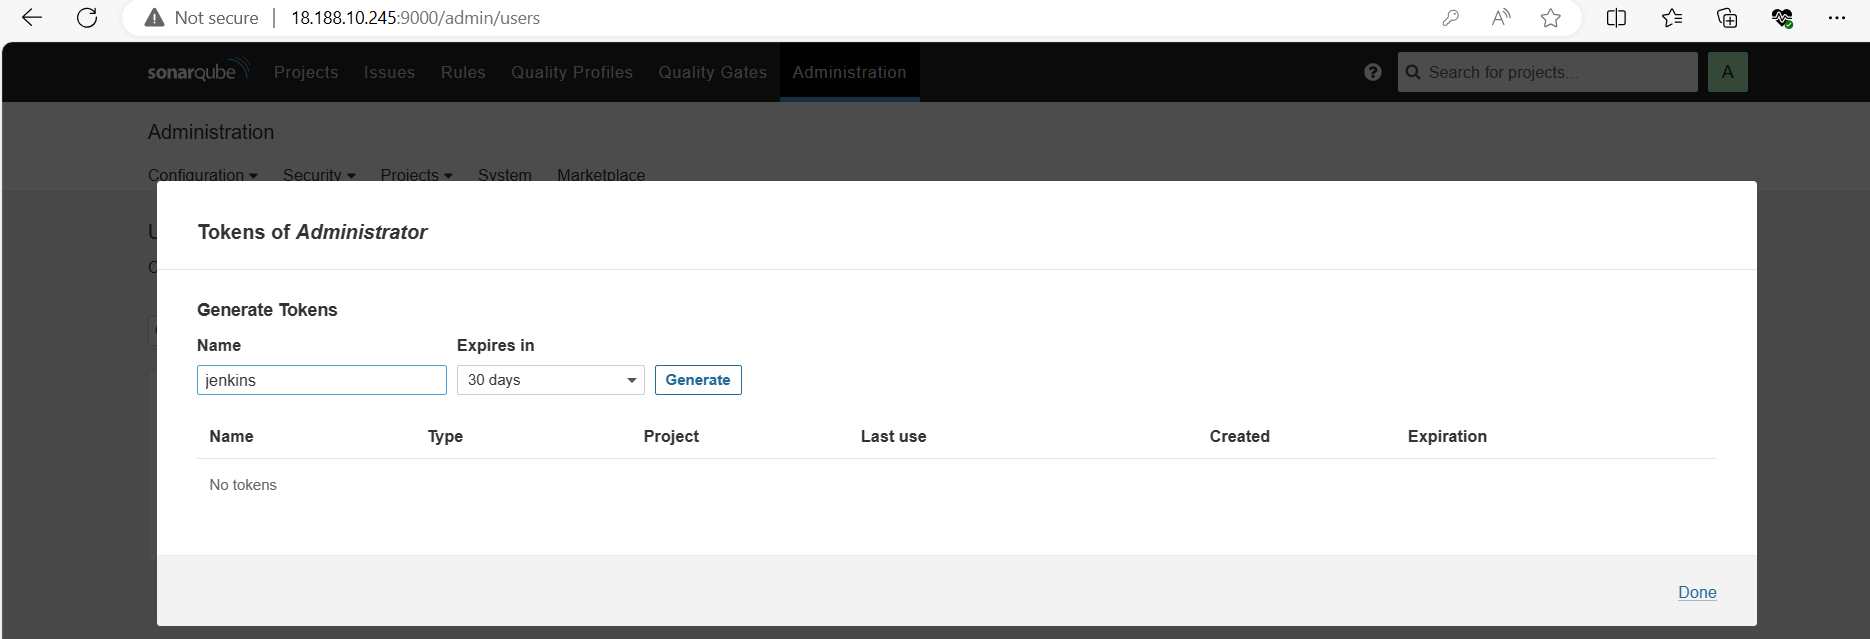
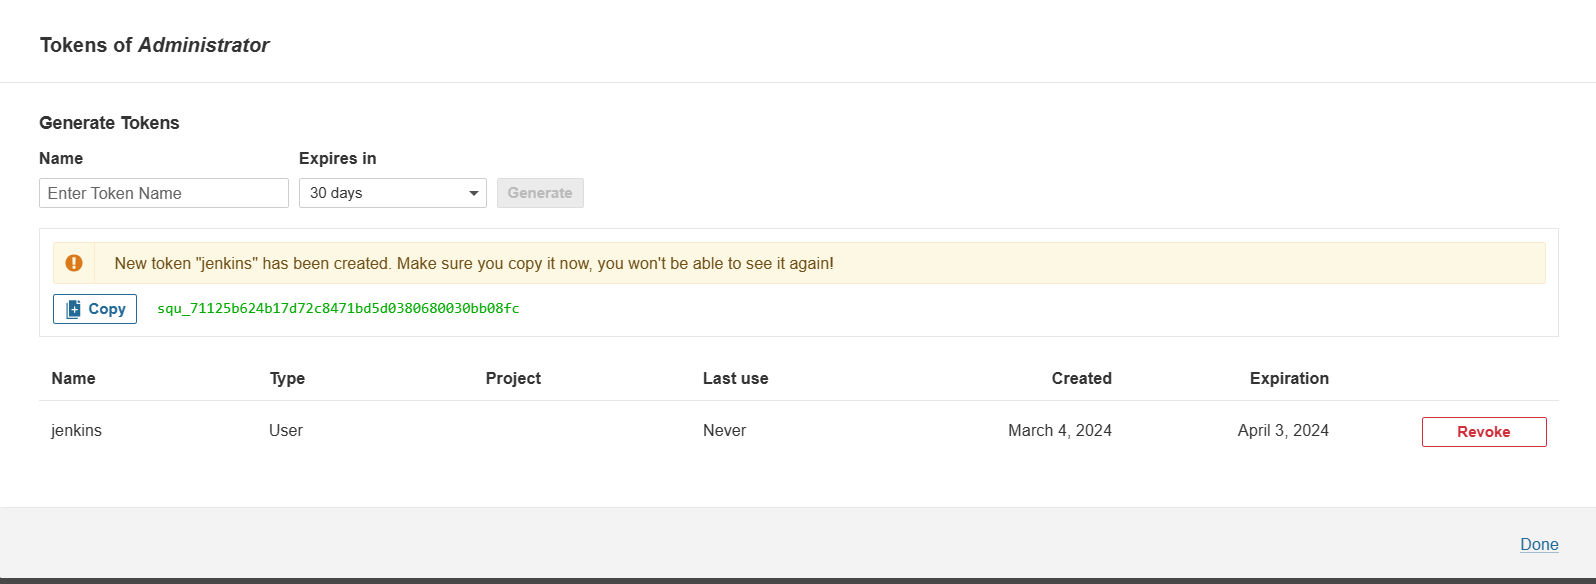
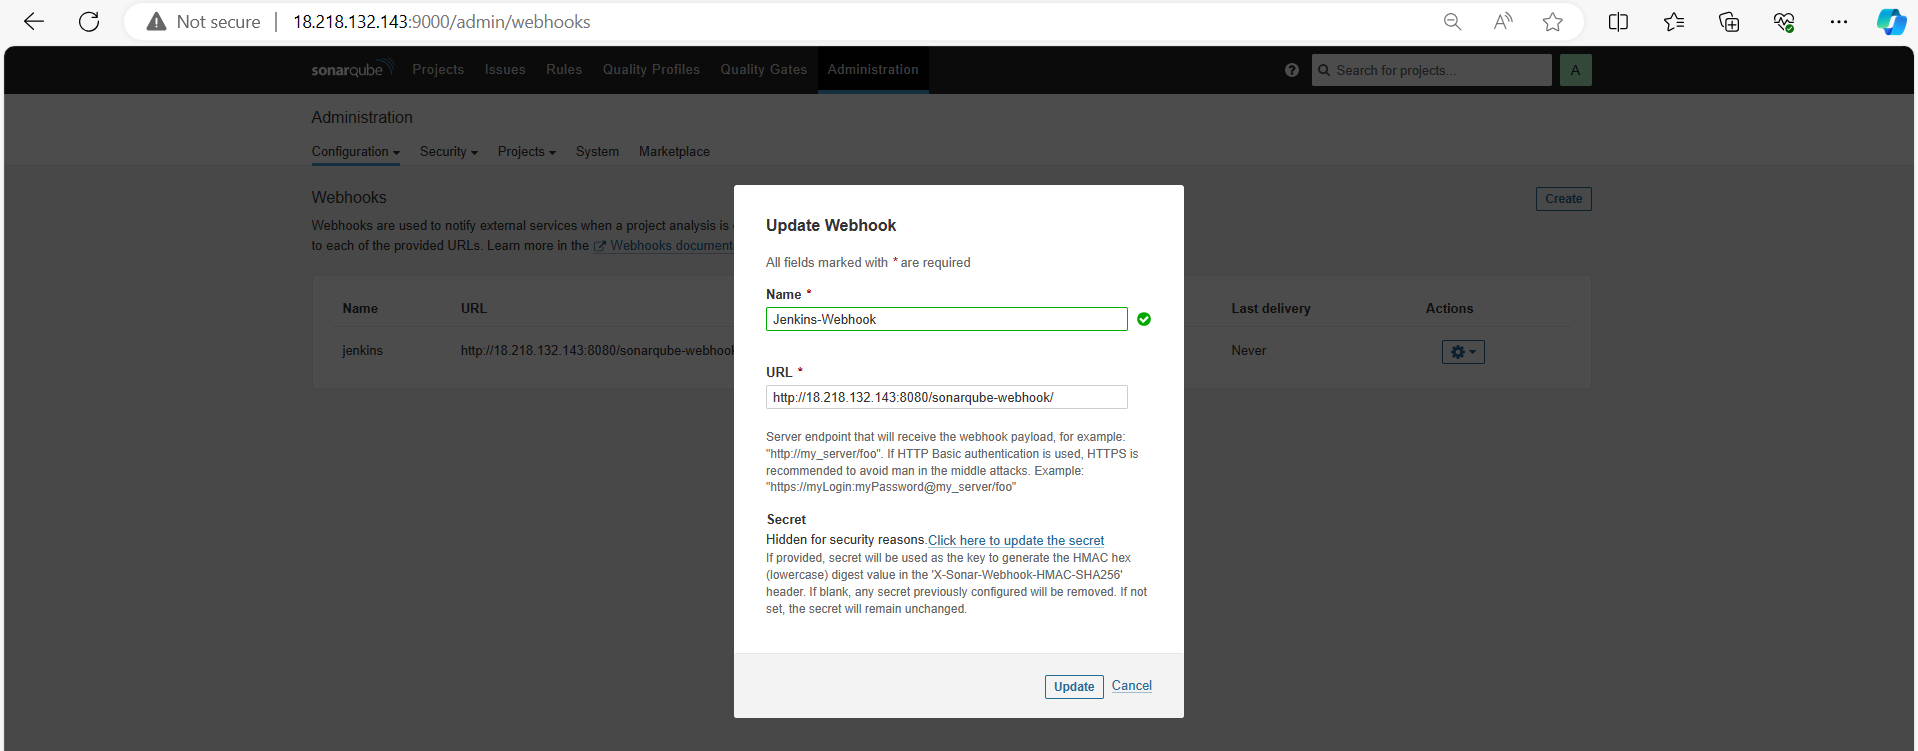
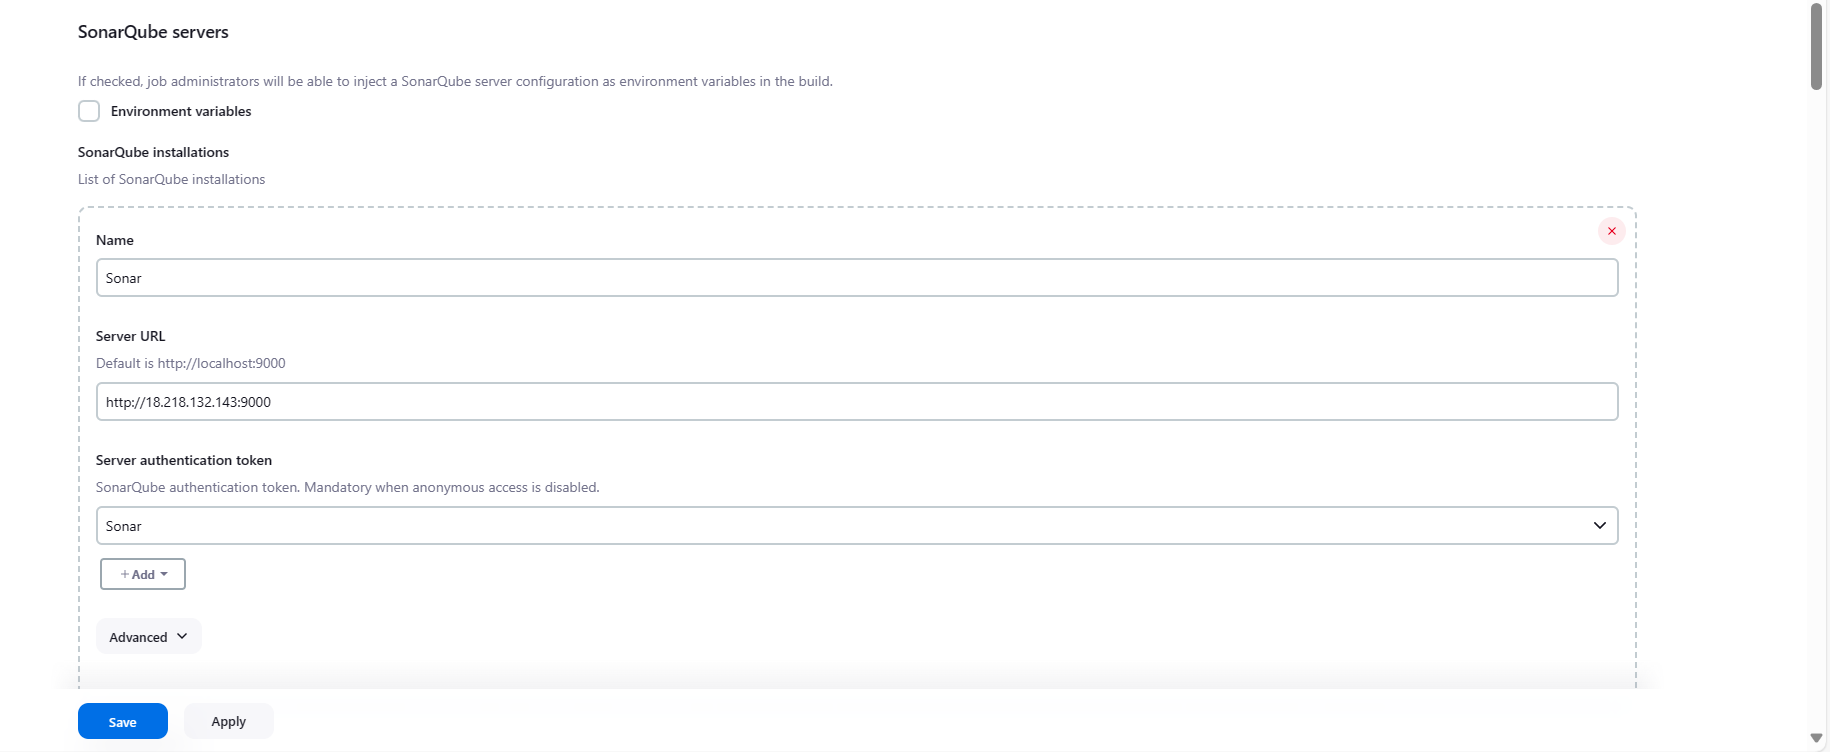
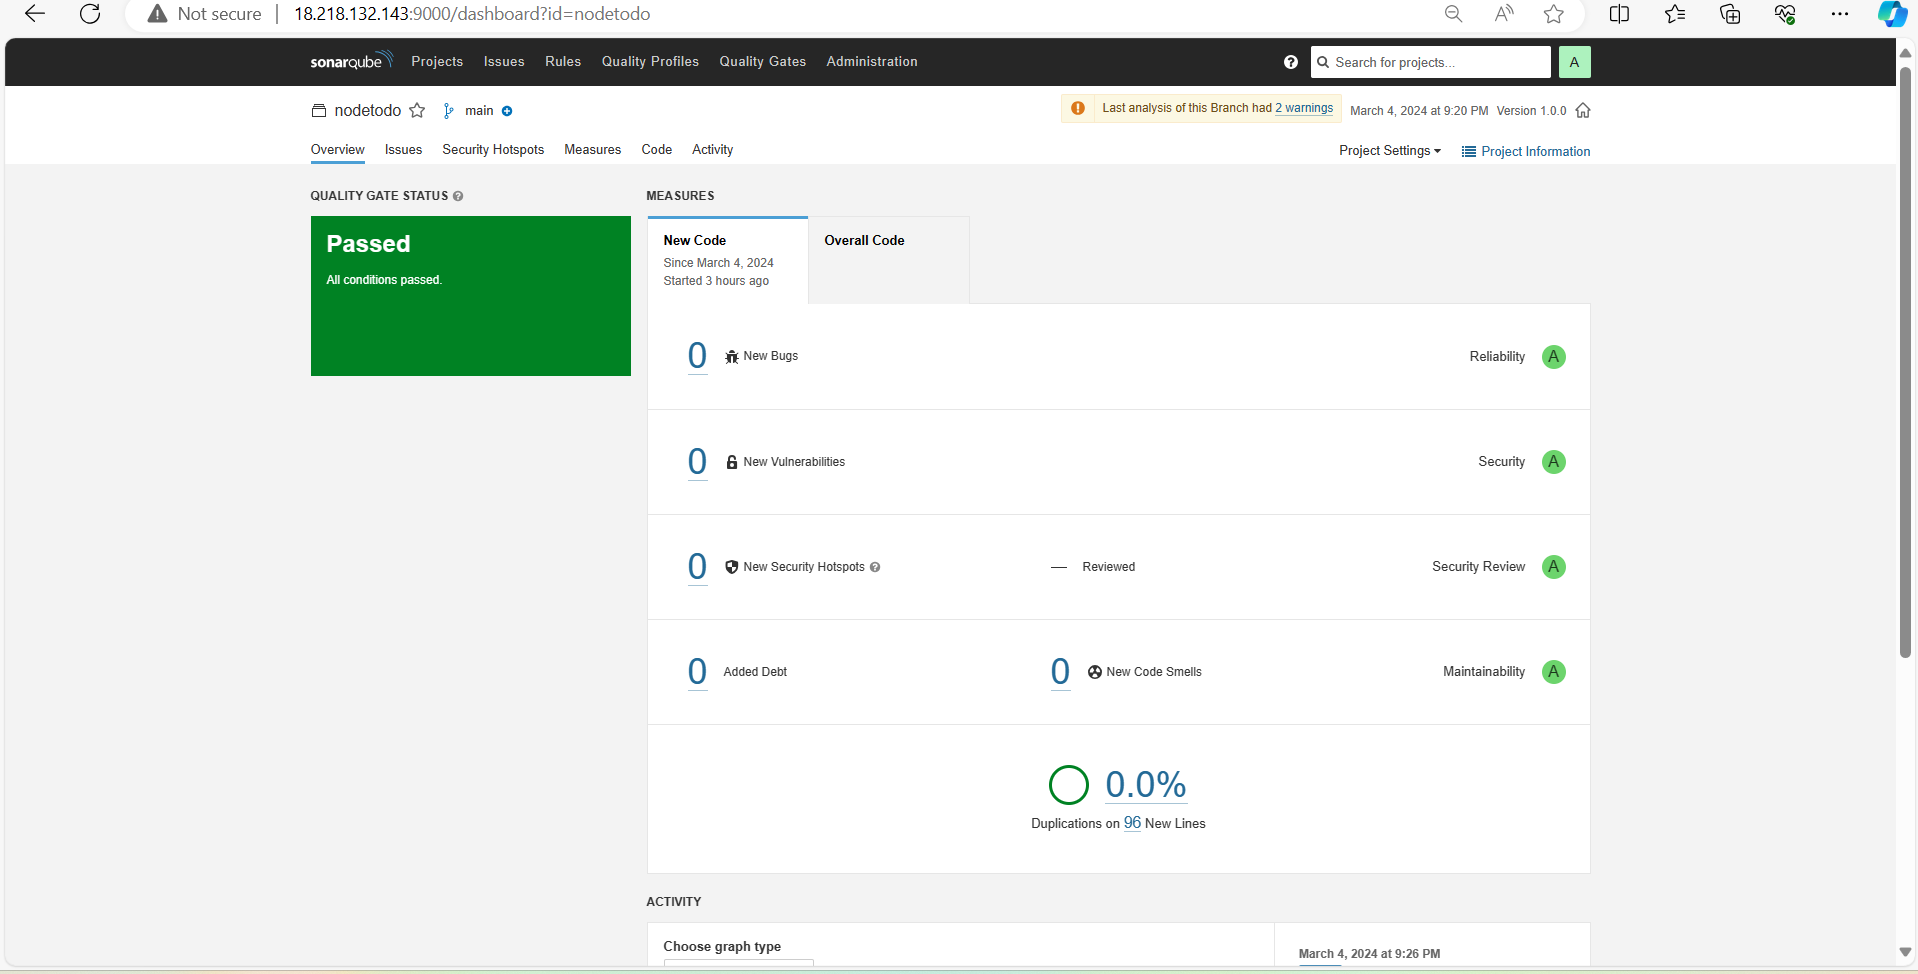
Step 8: Configuring SonarQube Integration:
Generate a token in SonarQube for Jenkins integration.
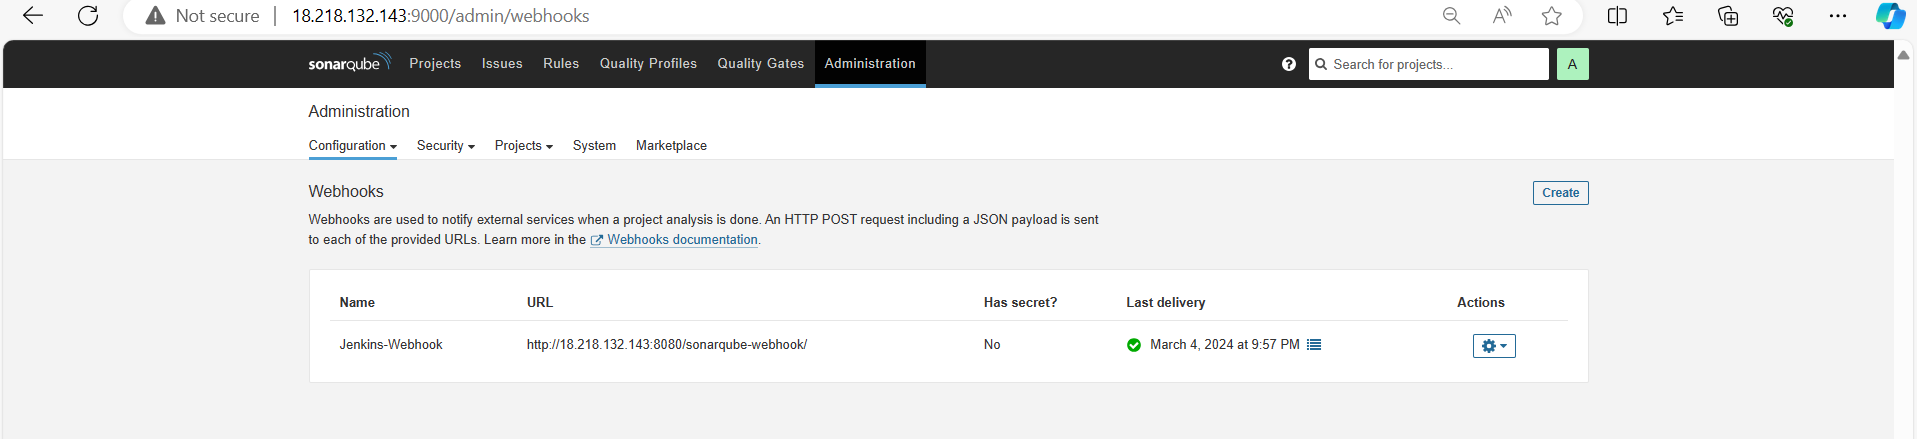
Configure a webhook in SonarQube to notify Jenkins about Quality Gates scanning completion.

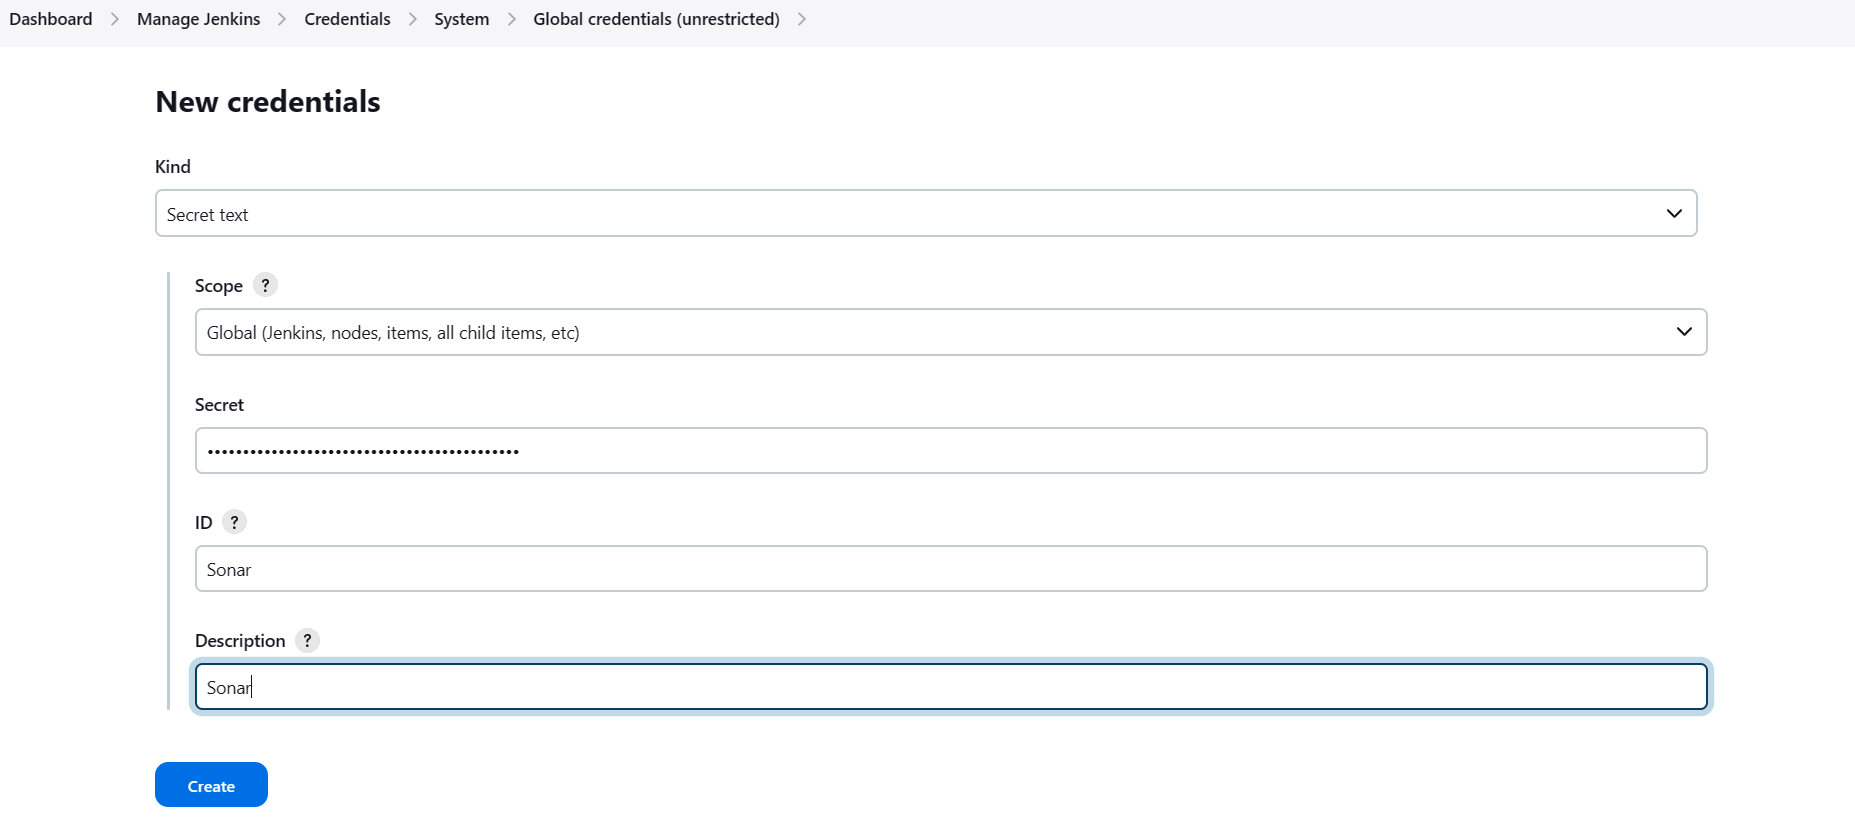
Add SonarQube credentials in Jenkins.

Now, it's time to integrate SonarQube Server with Jenkins, go to Manage Jenkins*,* then System and look for SonarQube Servers and add SonarQube.
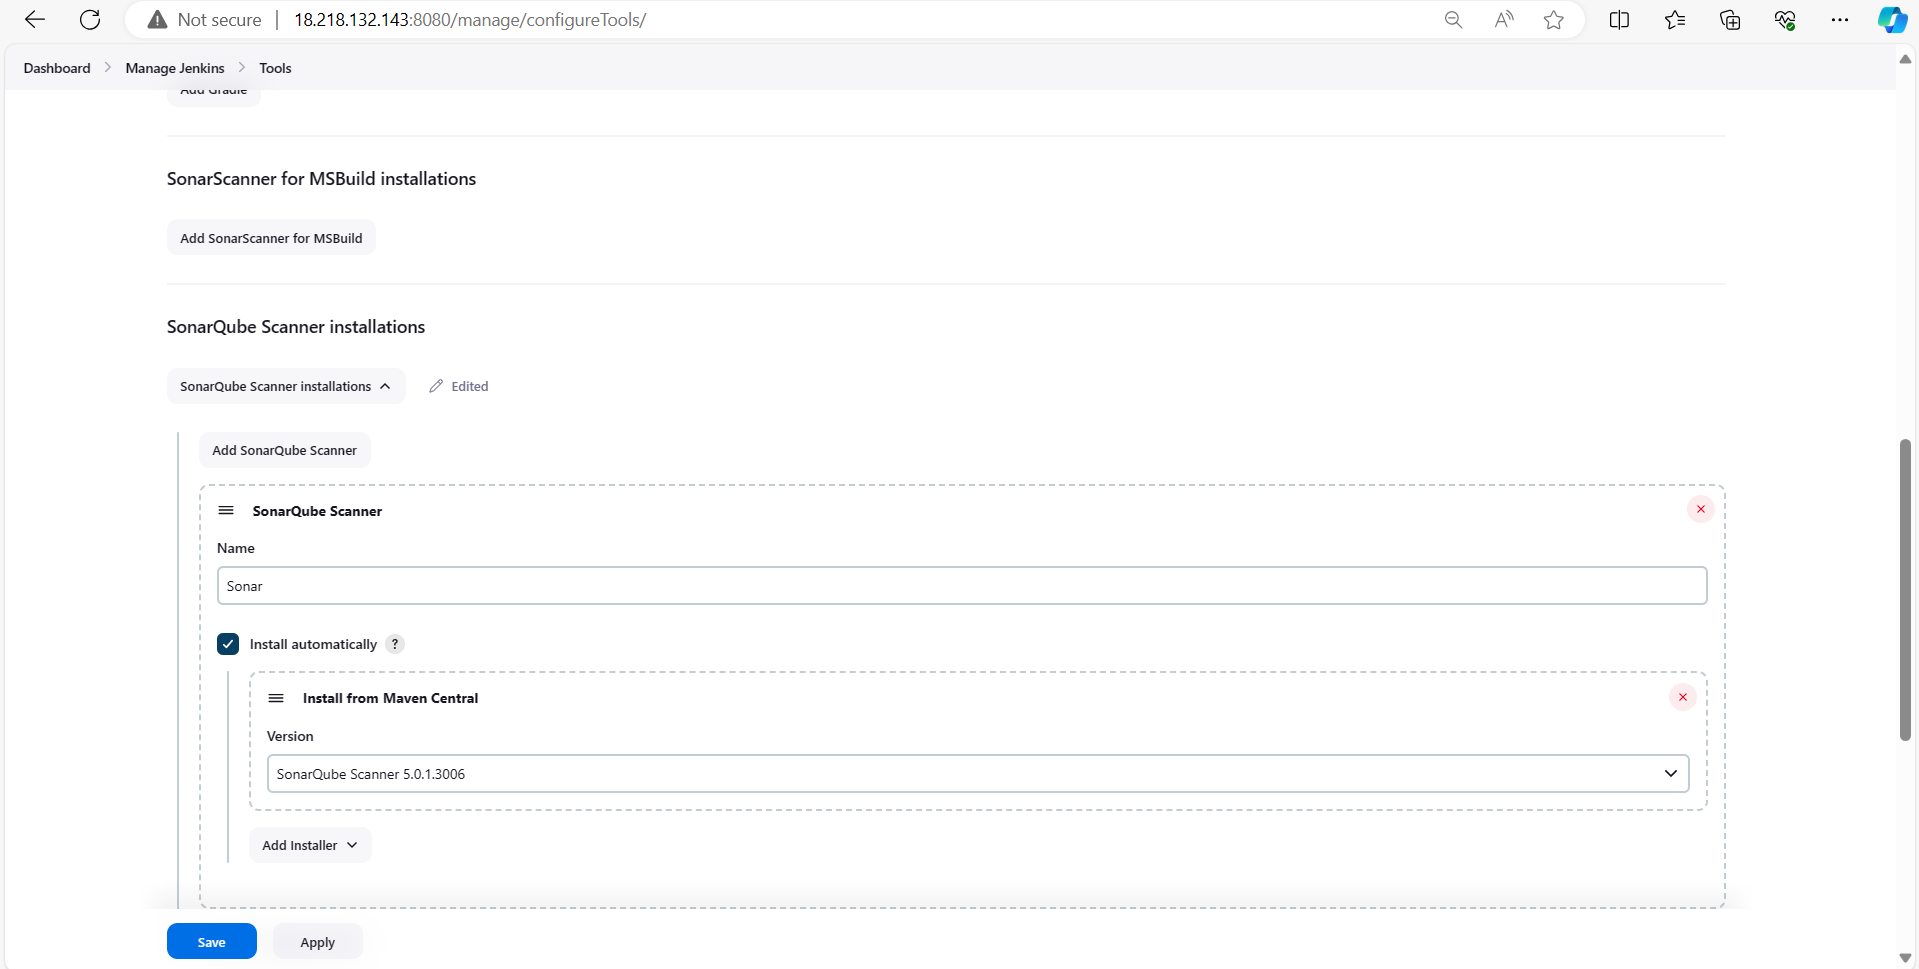
Go to Manage Jenkins, then tools*,* look for SonarQube Scanner installations and add SonarQube Scanner.
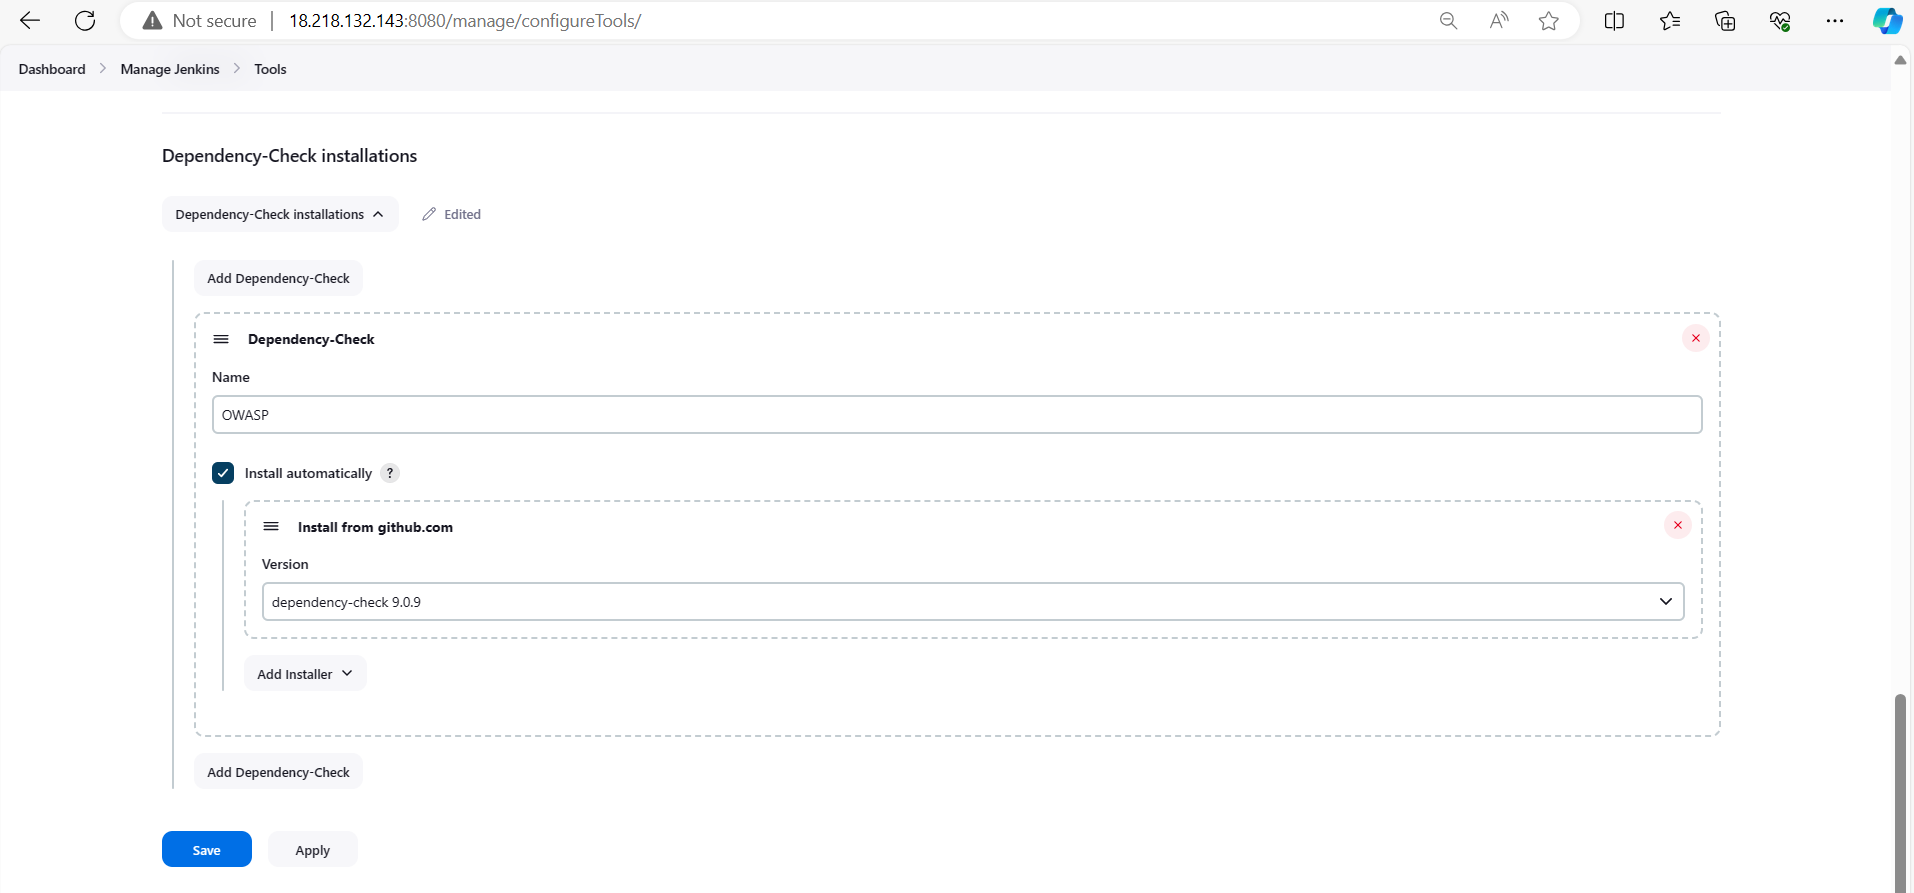
Step 9: Integrating OWASP Dependency-Check with Jenkins:
Install the Dependency-Check plugin in Jenkins via the plugin manager.

Configure Dependency-Check installations in Jenkins.
Integrate OWASP with Jenkins, go to Manage Jenkins*,* then tools*,* look for Dependency-Check installations and add Dependency-Check.
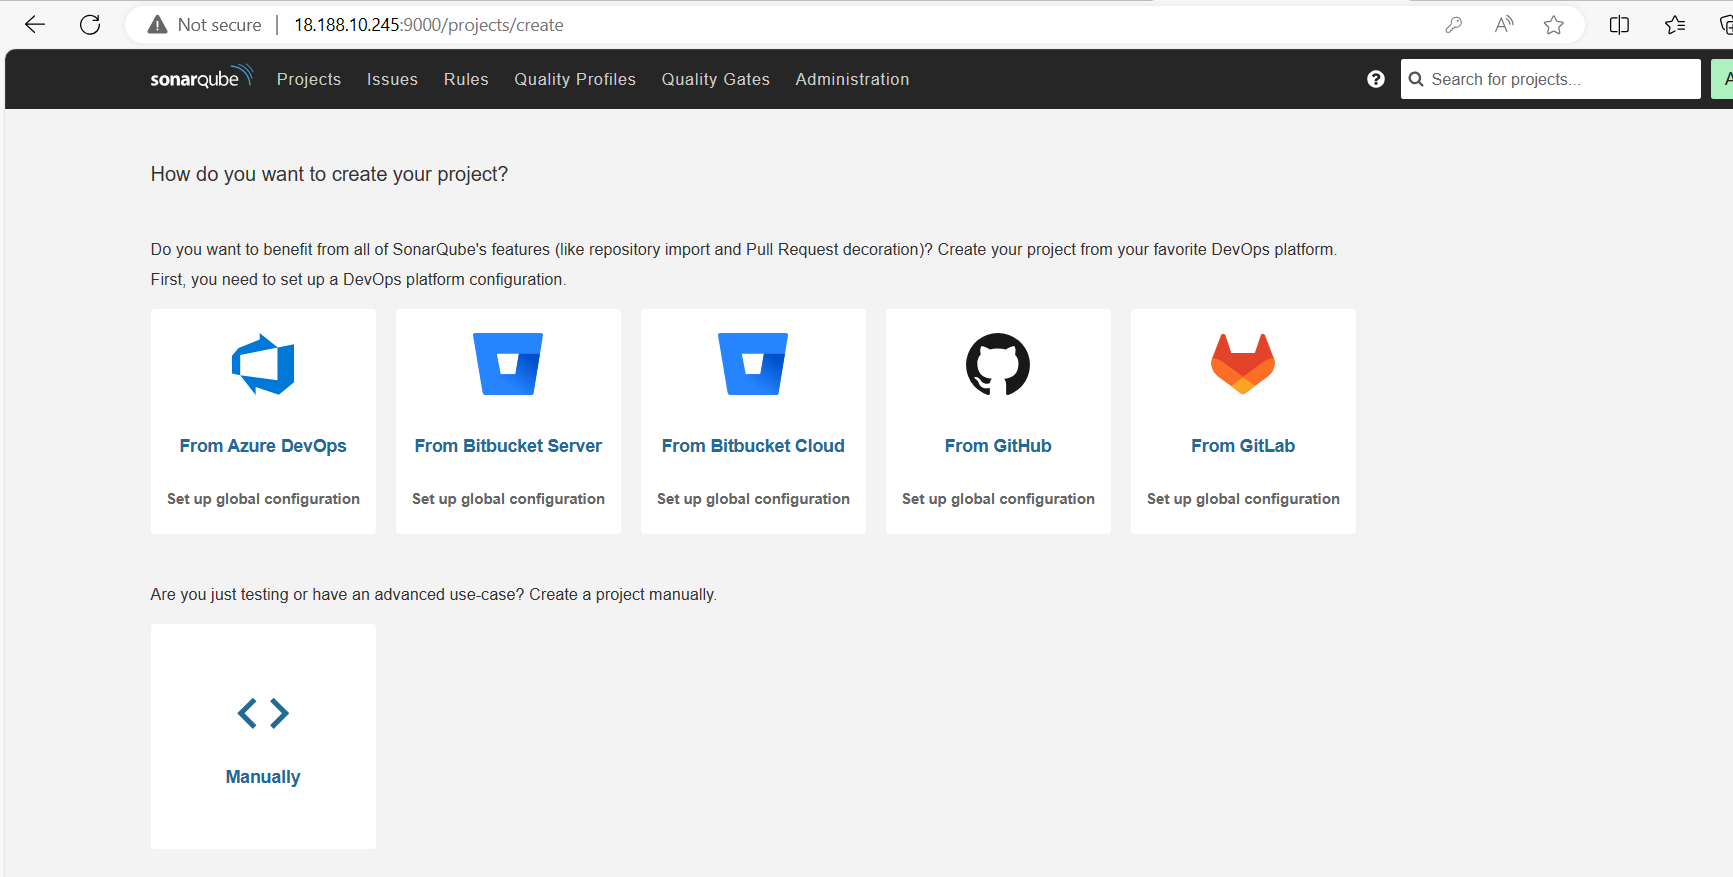
Step 10: Manually Creating a CI/CD Pipeline in Jenkins:
Now, let's create the CI/CD pipeline manually in Jenkins before setting it up using the Jenkinsfile from your GitHub repository.
Create a New Jenkins Pipeline Job:
Log in to your Jenkins dashboard.
Click on "New Item" to create a new job.
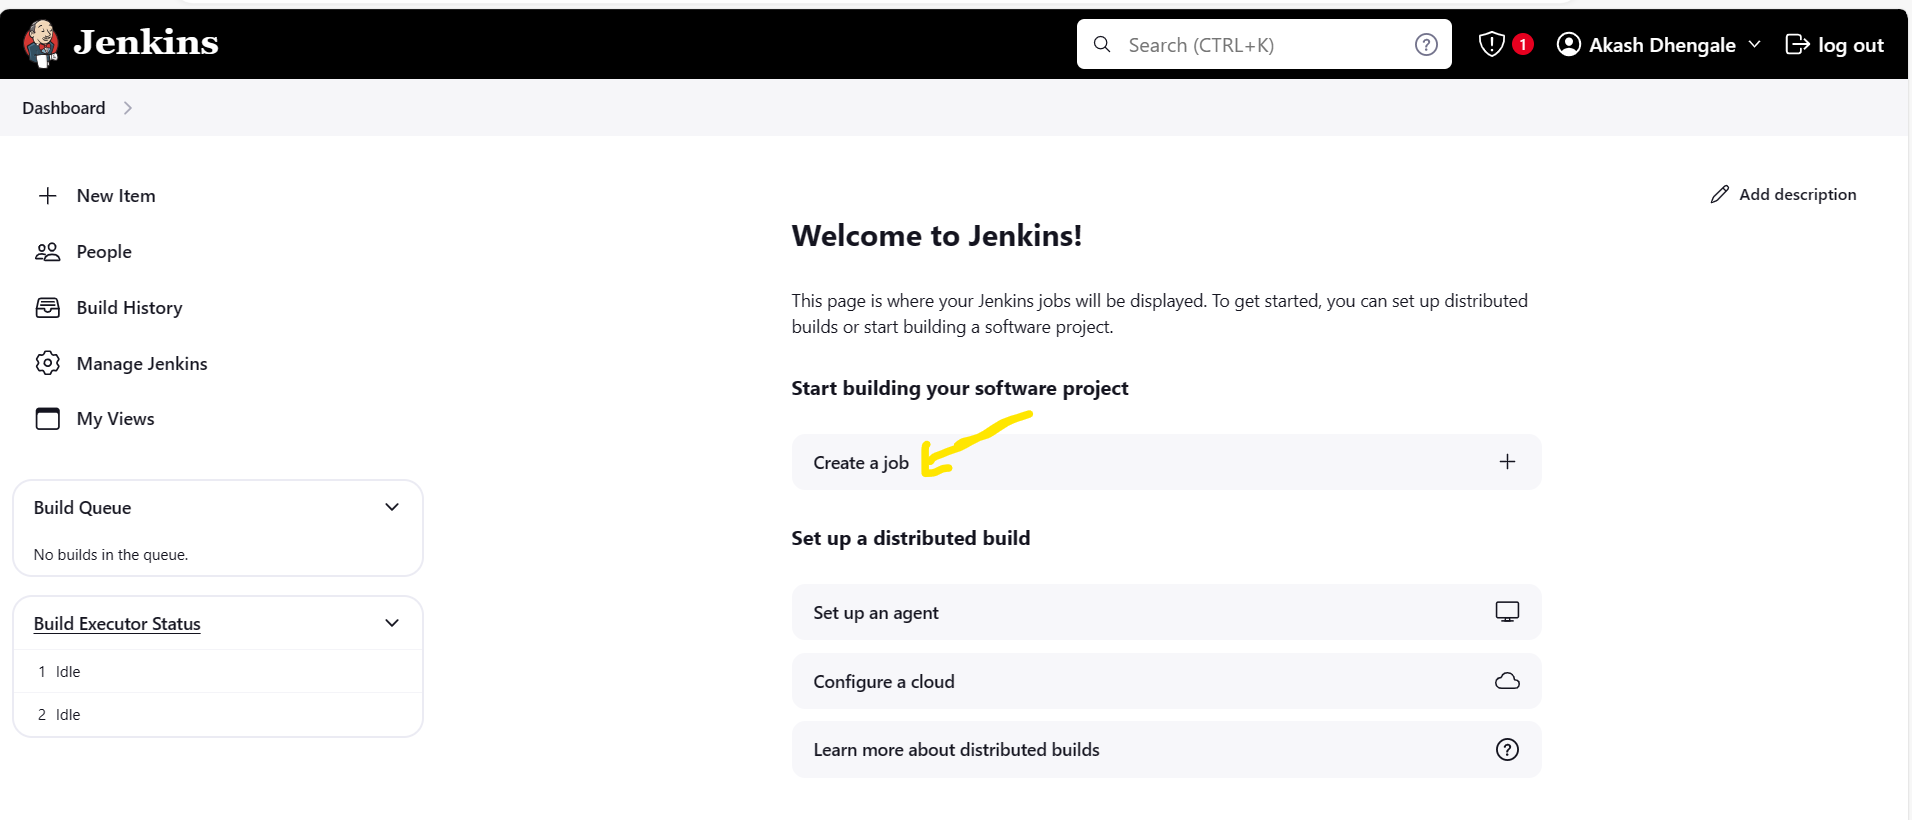
Enter a name for your job and select "Pipeline" as the job type.
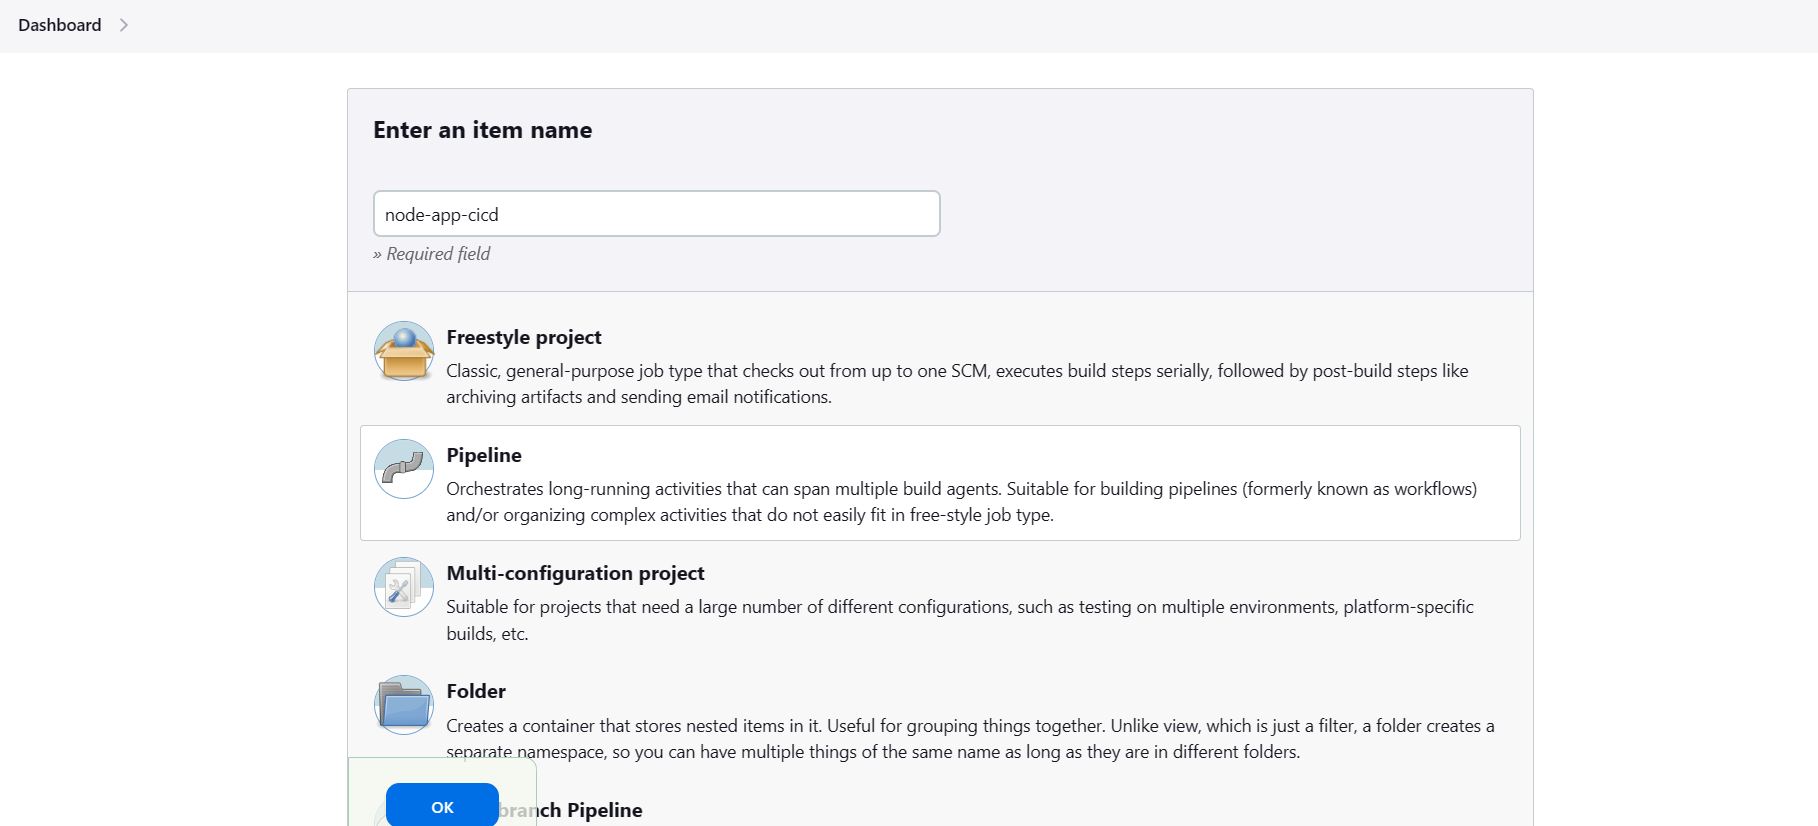
Click on "OK" to create the job.
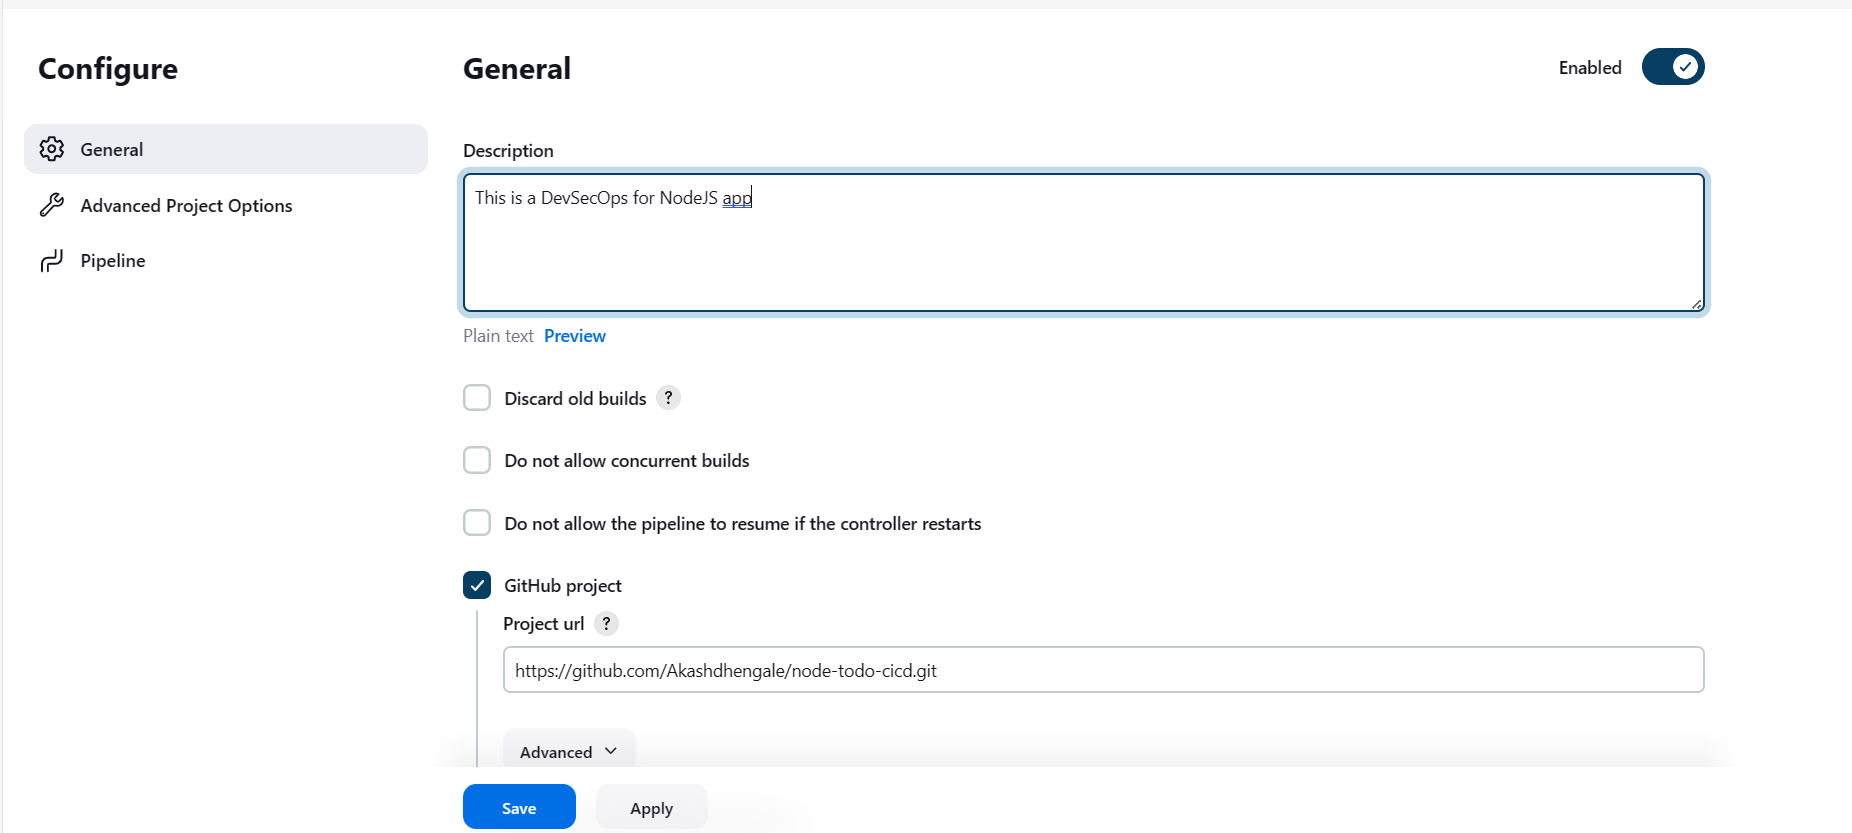
Configure the Pipeline Manually:
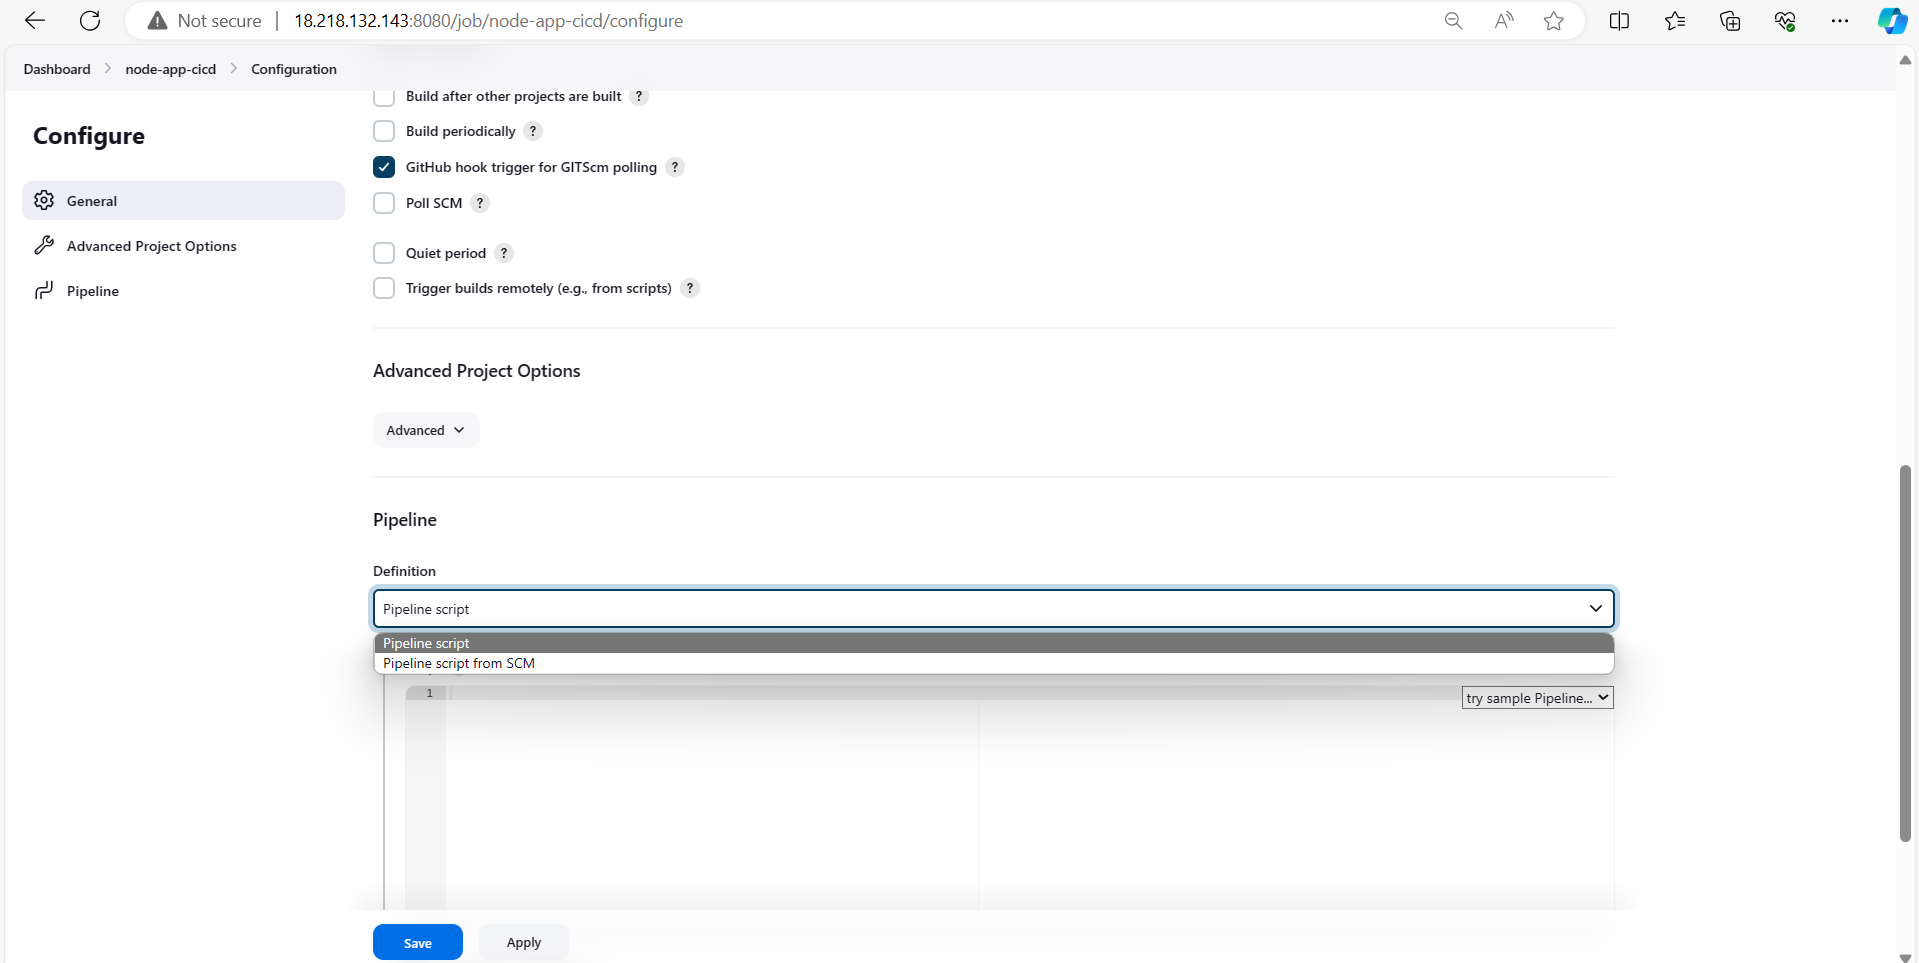
In the job configuration page, scroll down to the "Pipeline" section.
Choose "Pipeline script" as the definition.
Now, you can manually write your pipeline script directly in the Jenkins job configuration.
Write the Pipeline Script:
Write your pipeline script according to the stages and steps required for your CI/CD process.
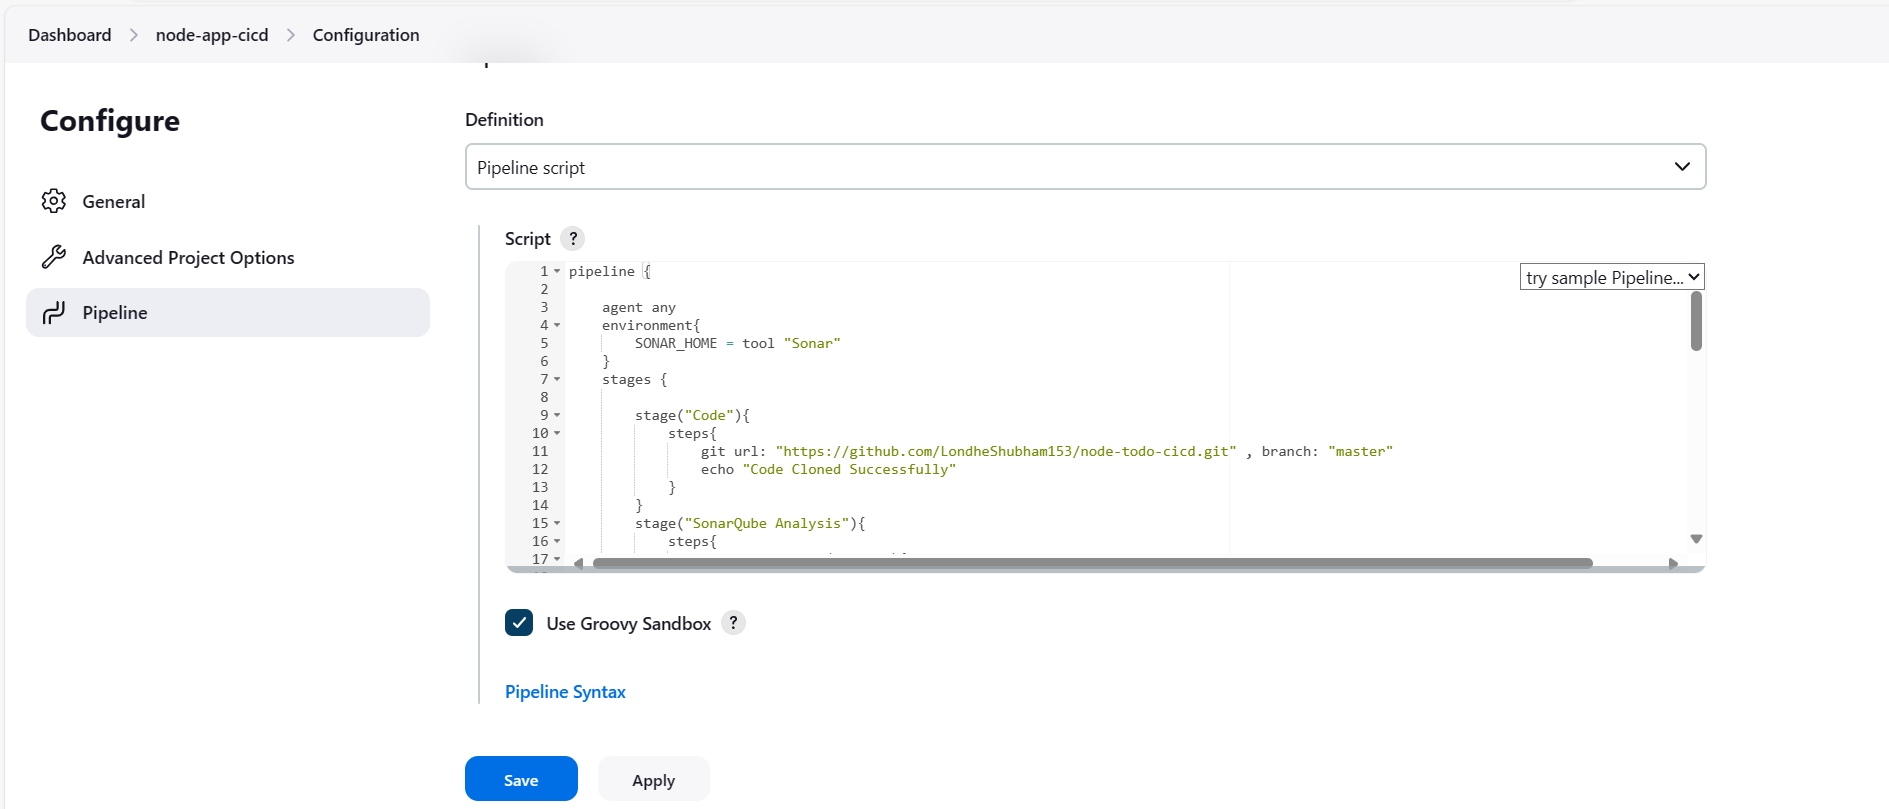
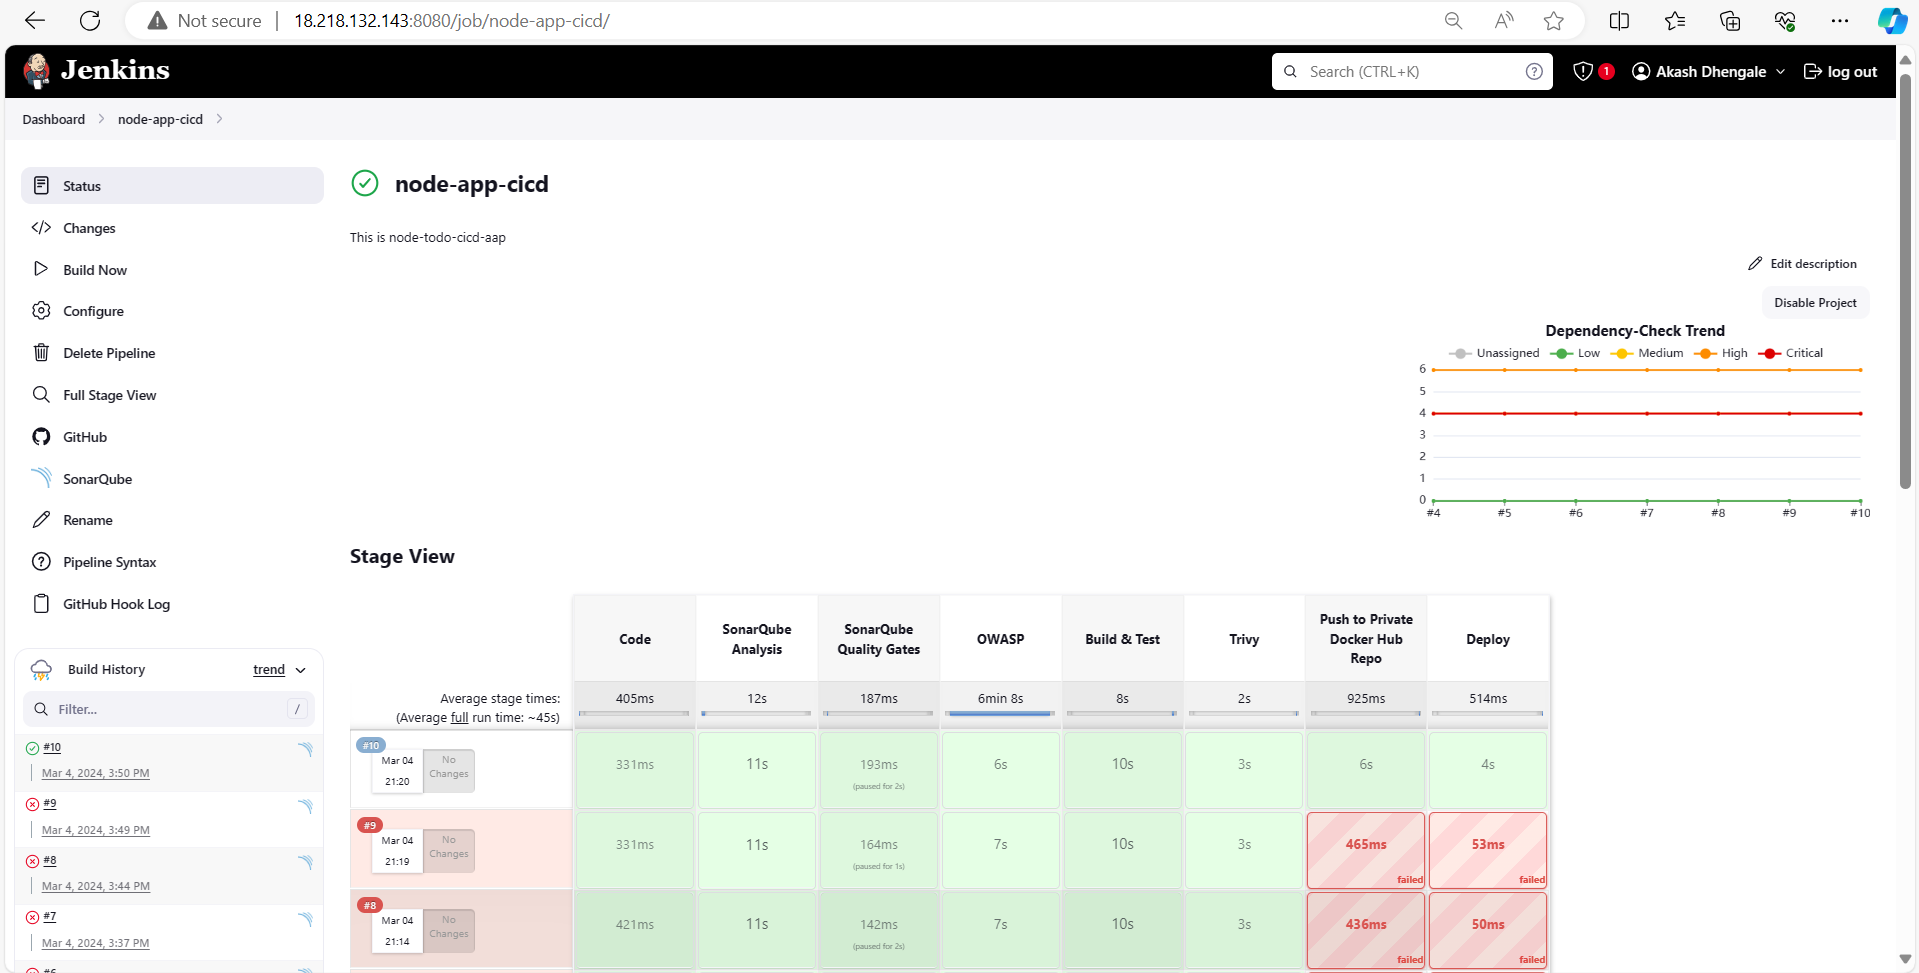
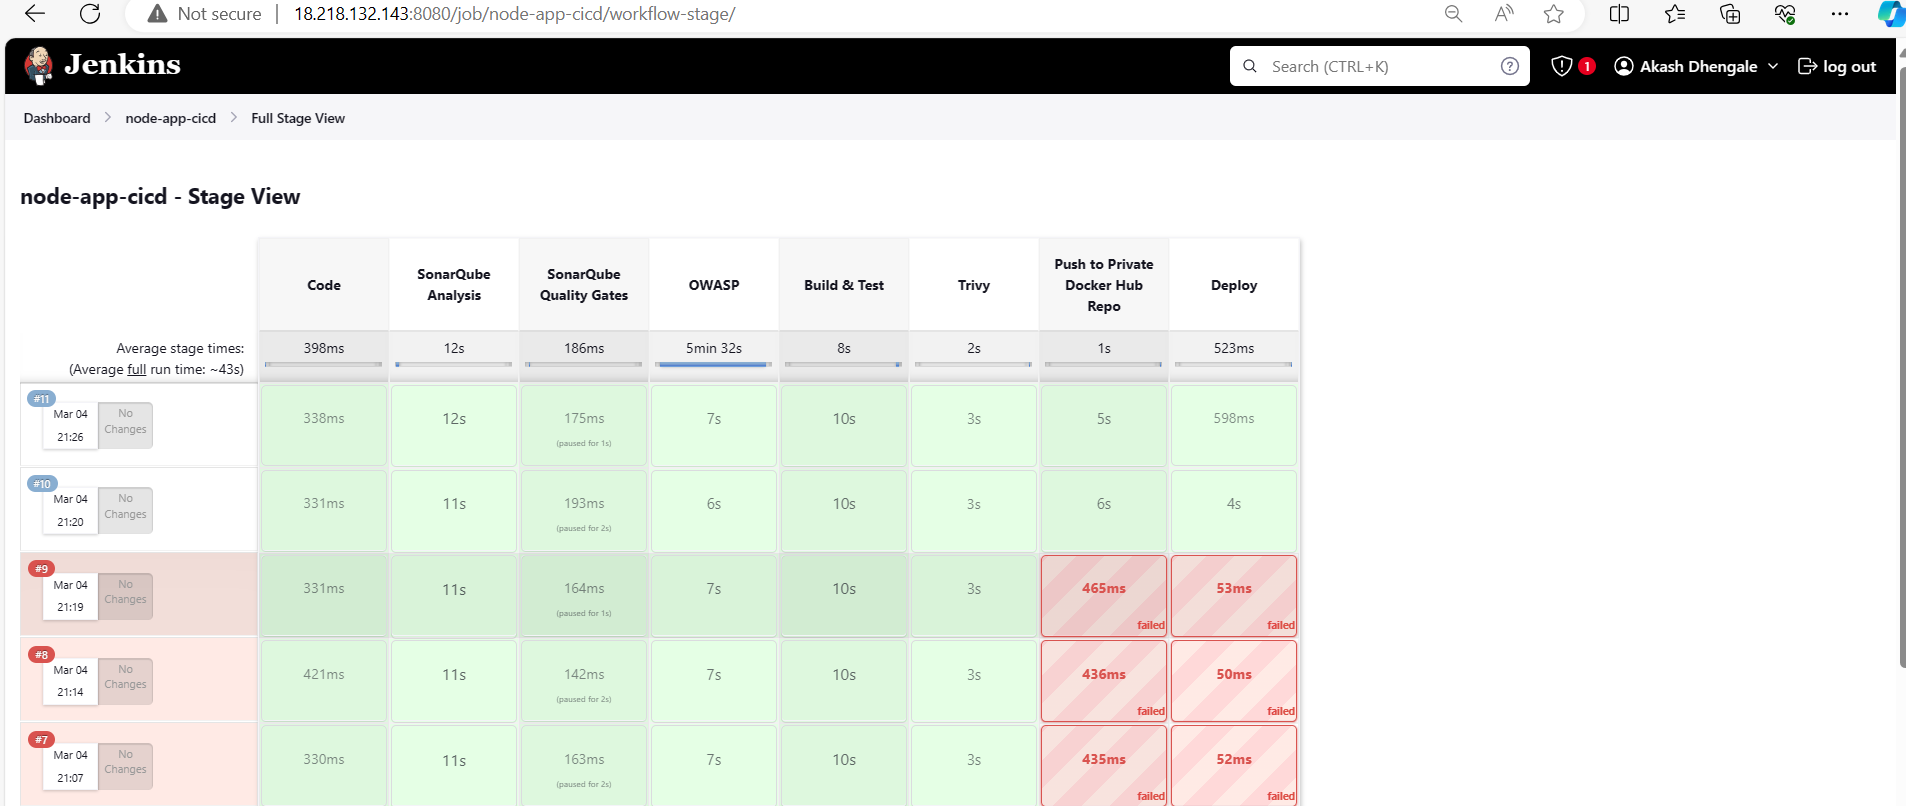
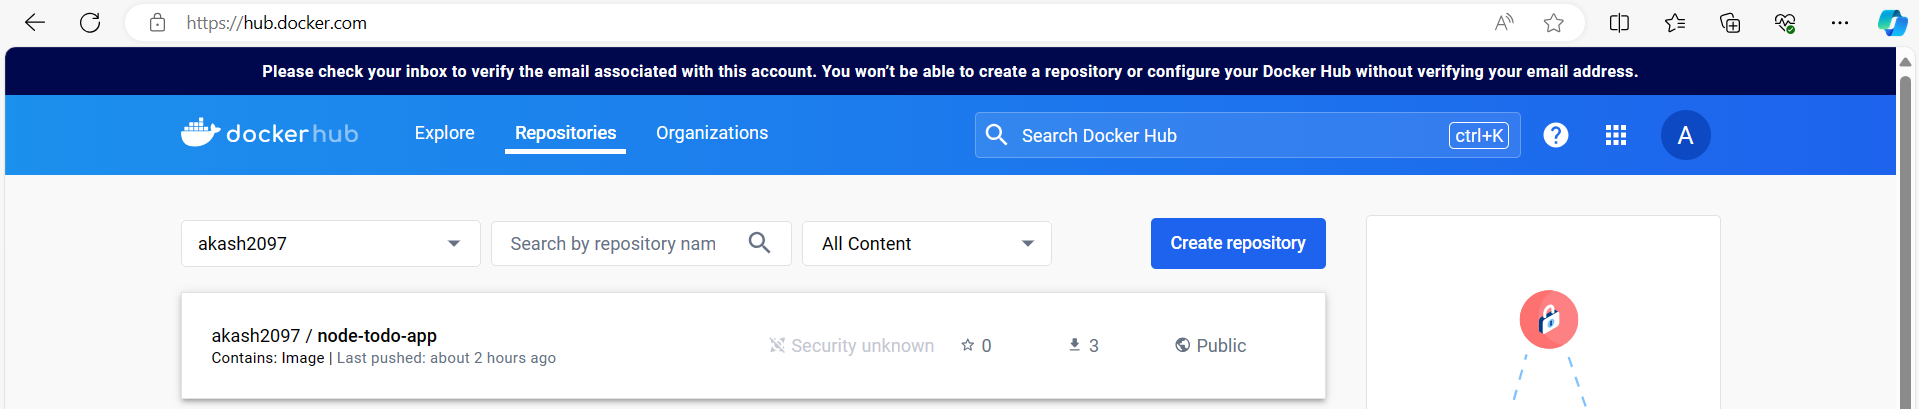
Integrate stages for code checkout, SonarQube analysis, SonarQube quality gates, OWASP scanning, build and test, Trivy vulnerability scanning, push to private Docker Hub repository, and deployment.

Save and Run the Pipeline:
Once you have written your pipeline script, save the job configuration.
Click on "Build Now" to run the pipeline and deploy your code using the DevSecOps approach.
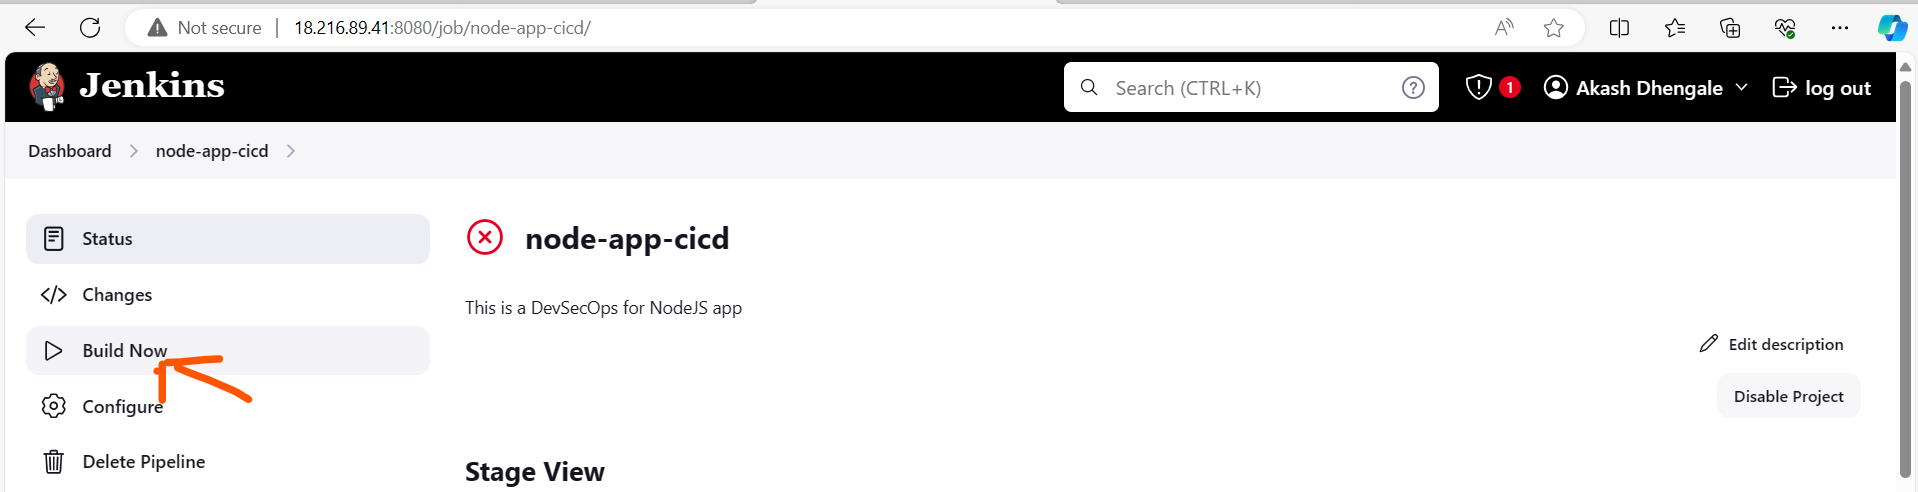
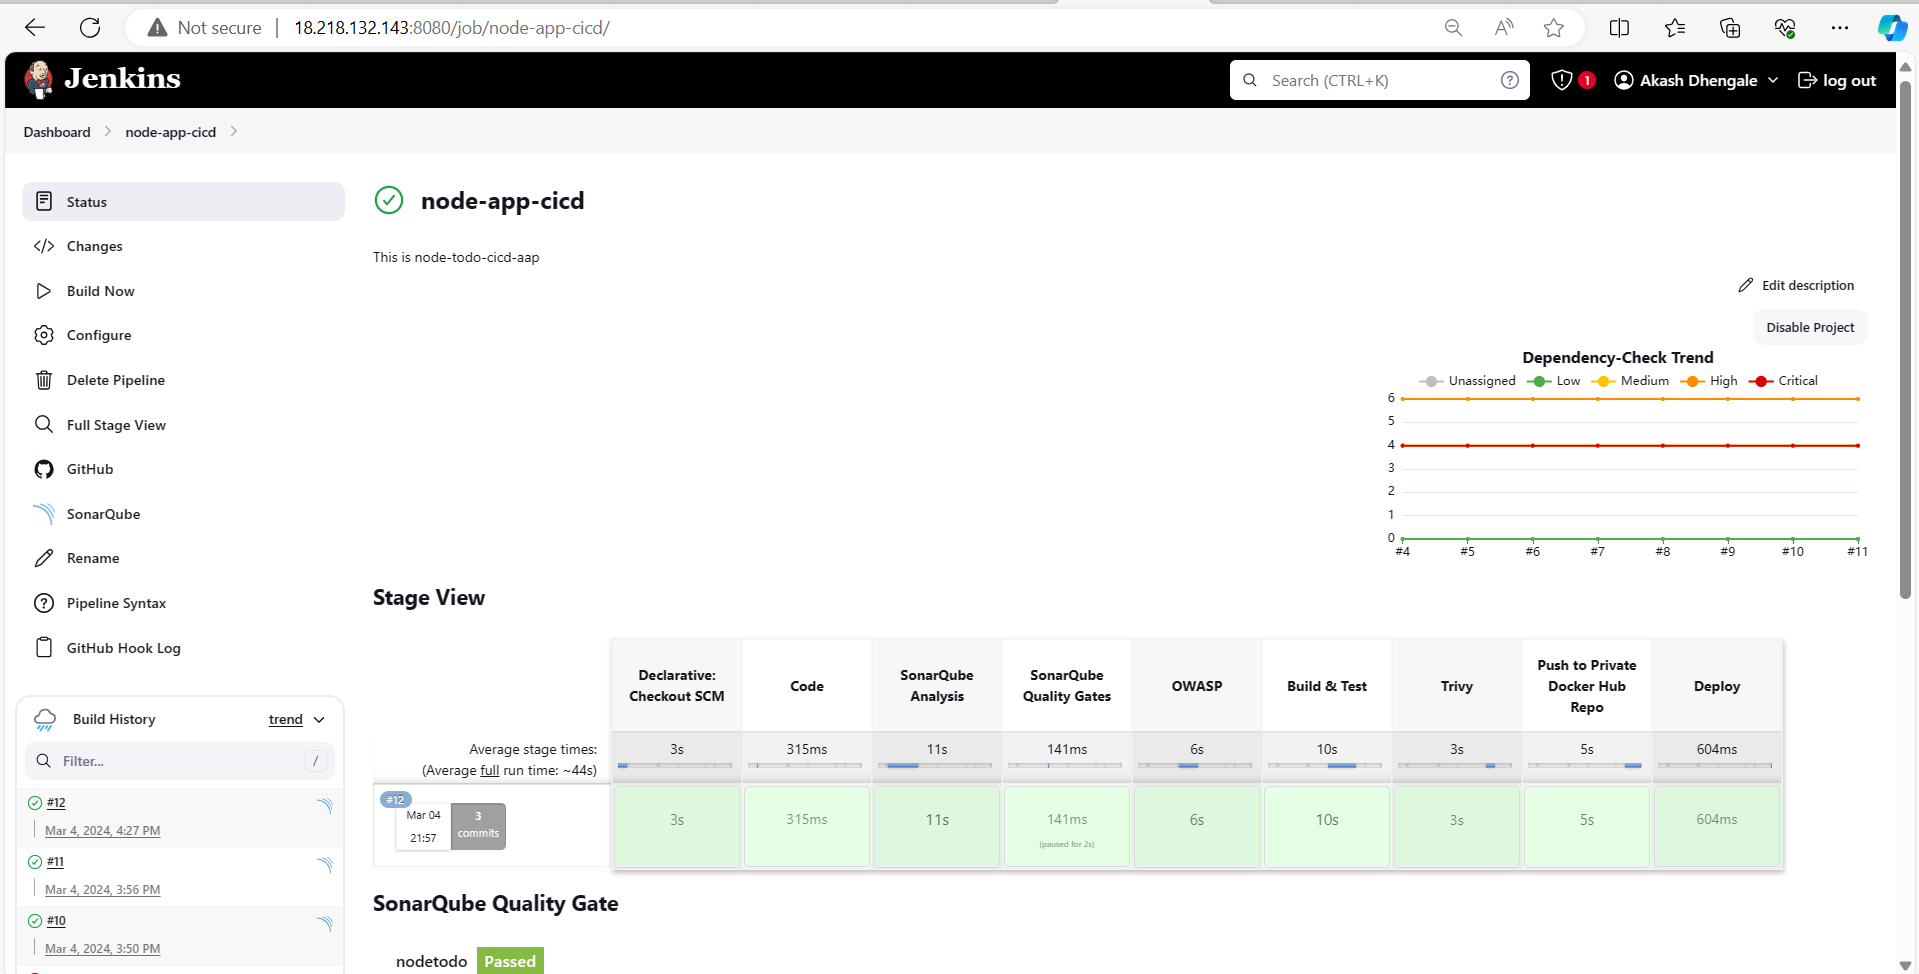
Congratulations! 🎉 Our pipeline is running smoothly! 🚀
Step 11: Creating a CI/CD Pipeline using SCM in Jenkins:
Now, let's configure the CI/CD pipeline using the Jenkinsfile from your GitHub repository.
Create a New Jenkins Pipeline Job:
- Follow the same steps as mentioned above to create a new pipeline job in Jenkins.
Configure the Pipeline using SCM:
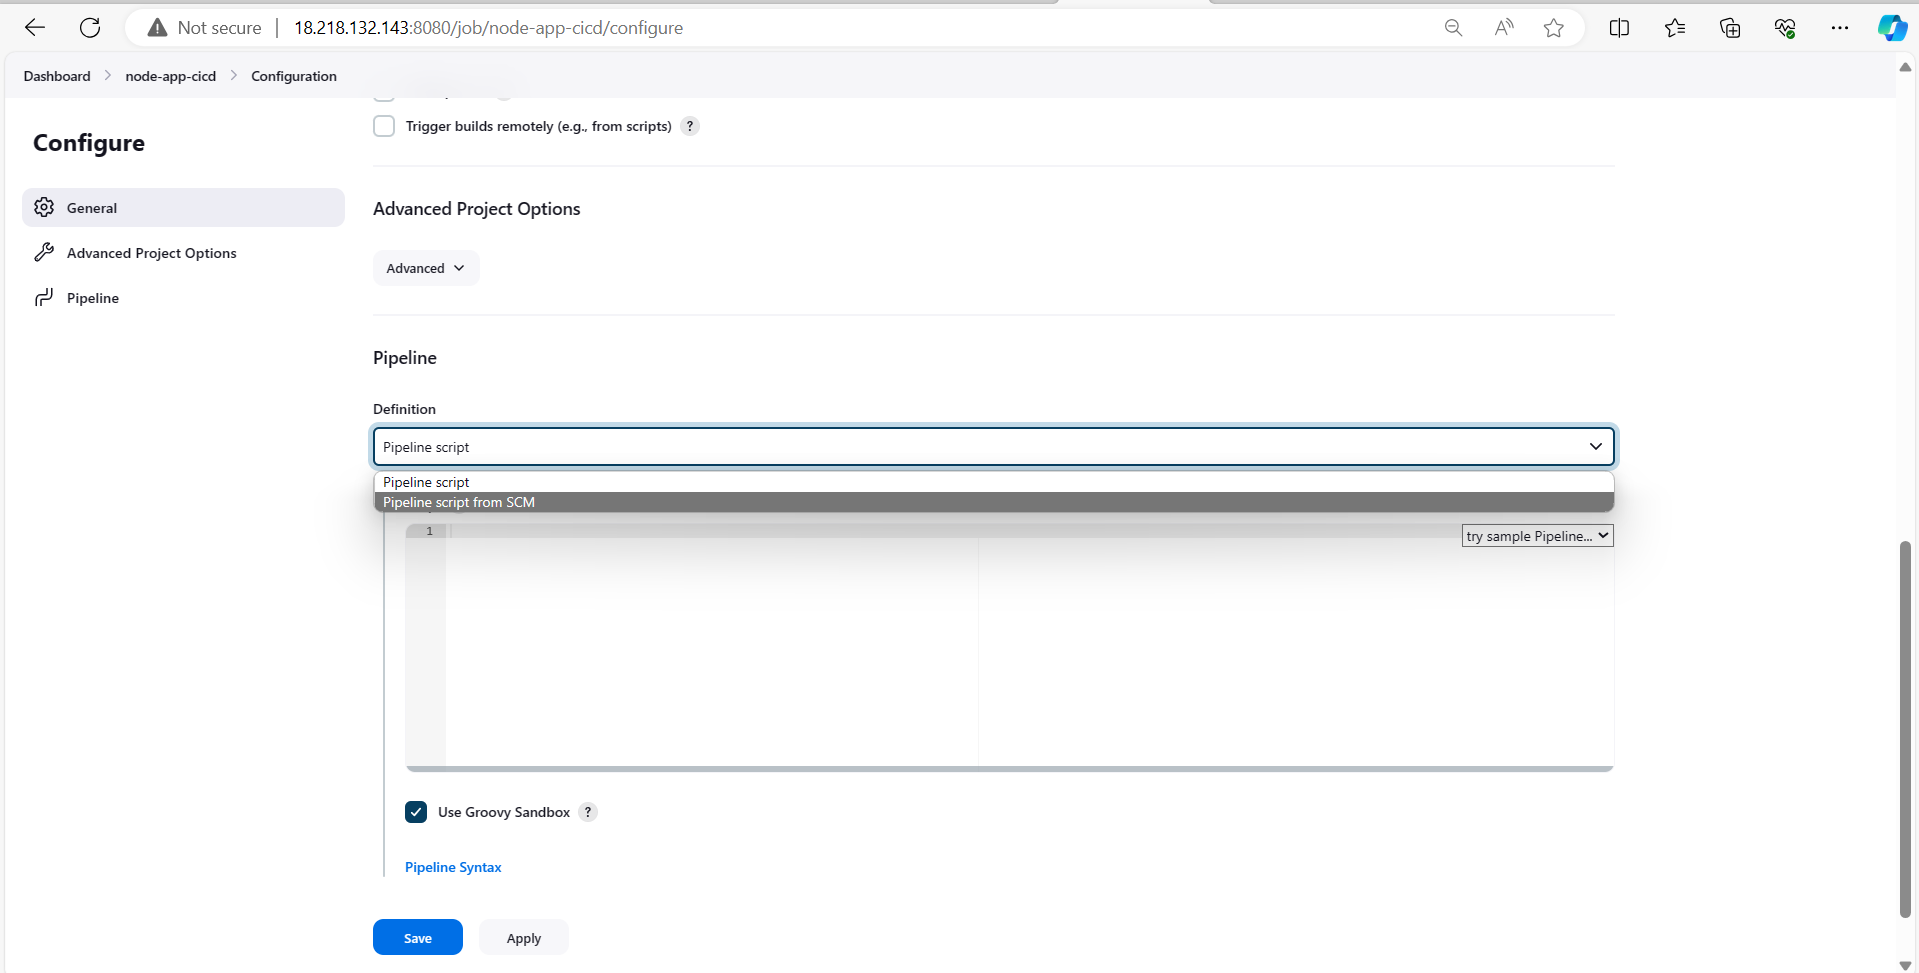
In the job configuration page, scroll down to the "Pipeline" section.
Choose "Pipeline script from SCM" as the definition.
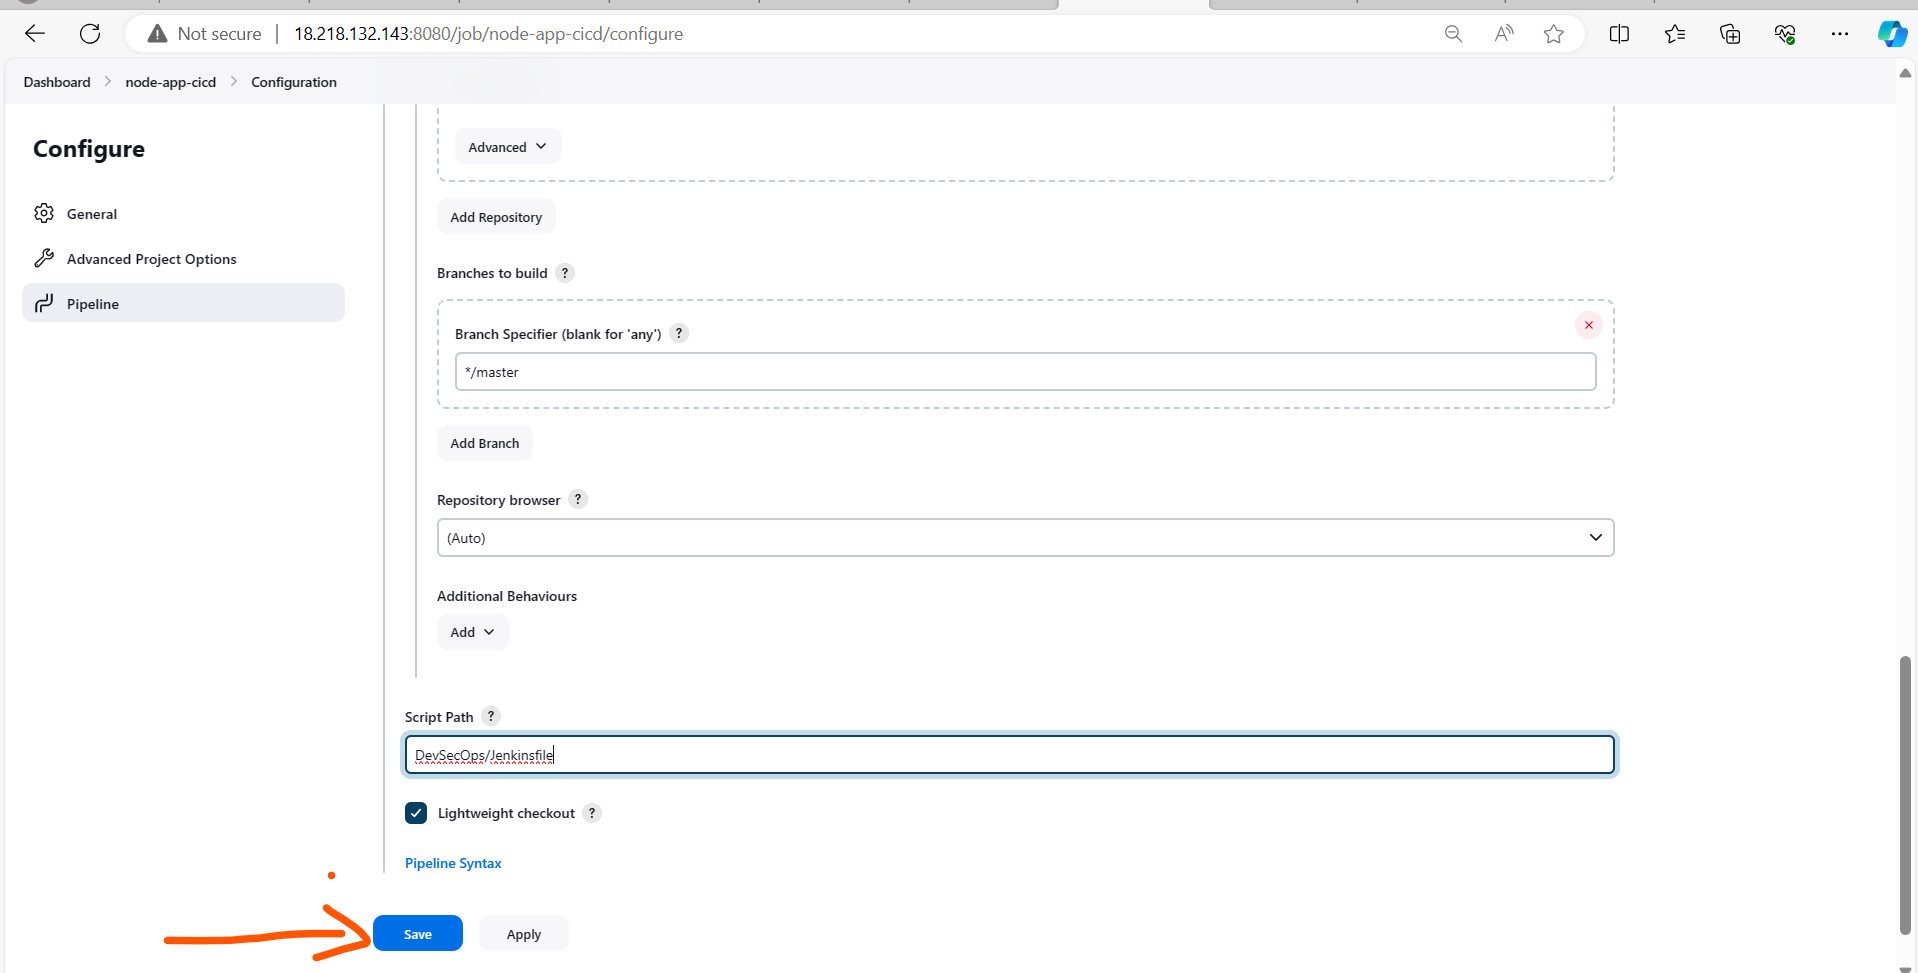
Select Git as the SCM (Source Code Management) option.
Enter your GitHub repository URL and specify the branch containing the Jenkinsfile.

Save the job configuration, then click on 'Build Now'.
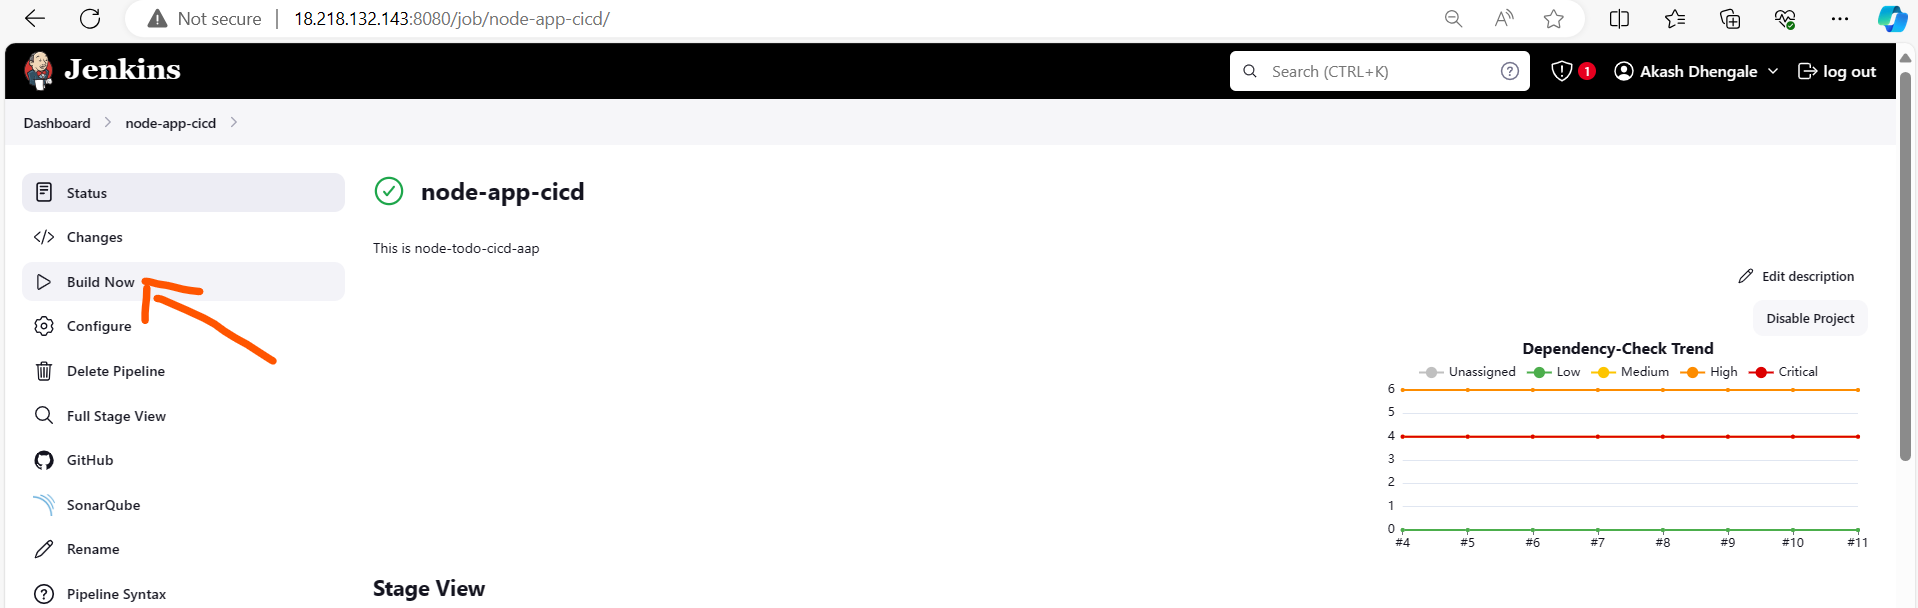
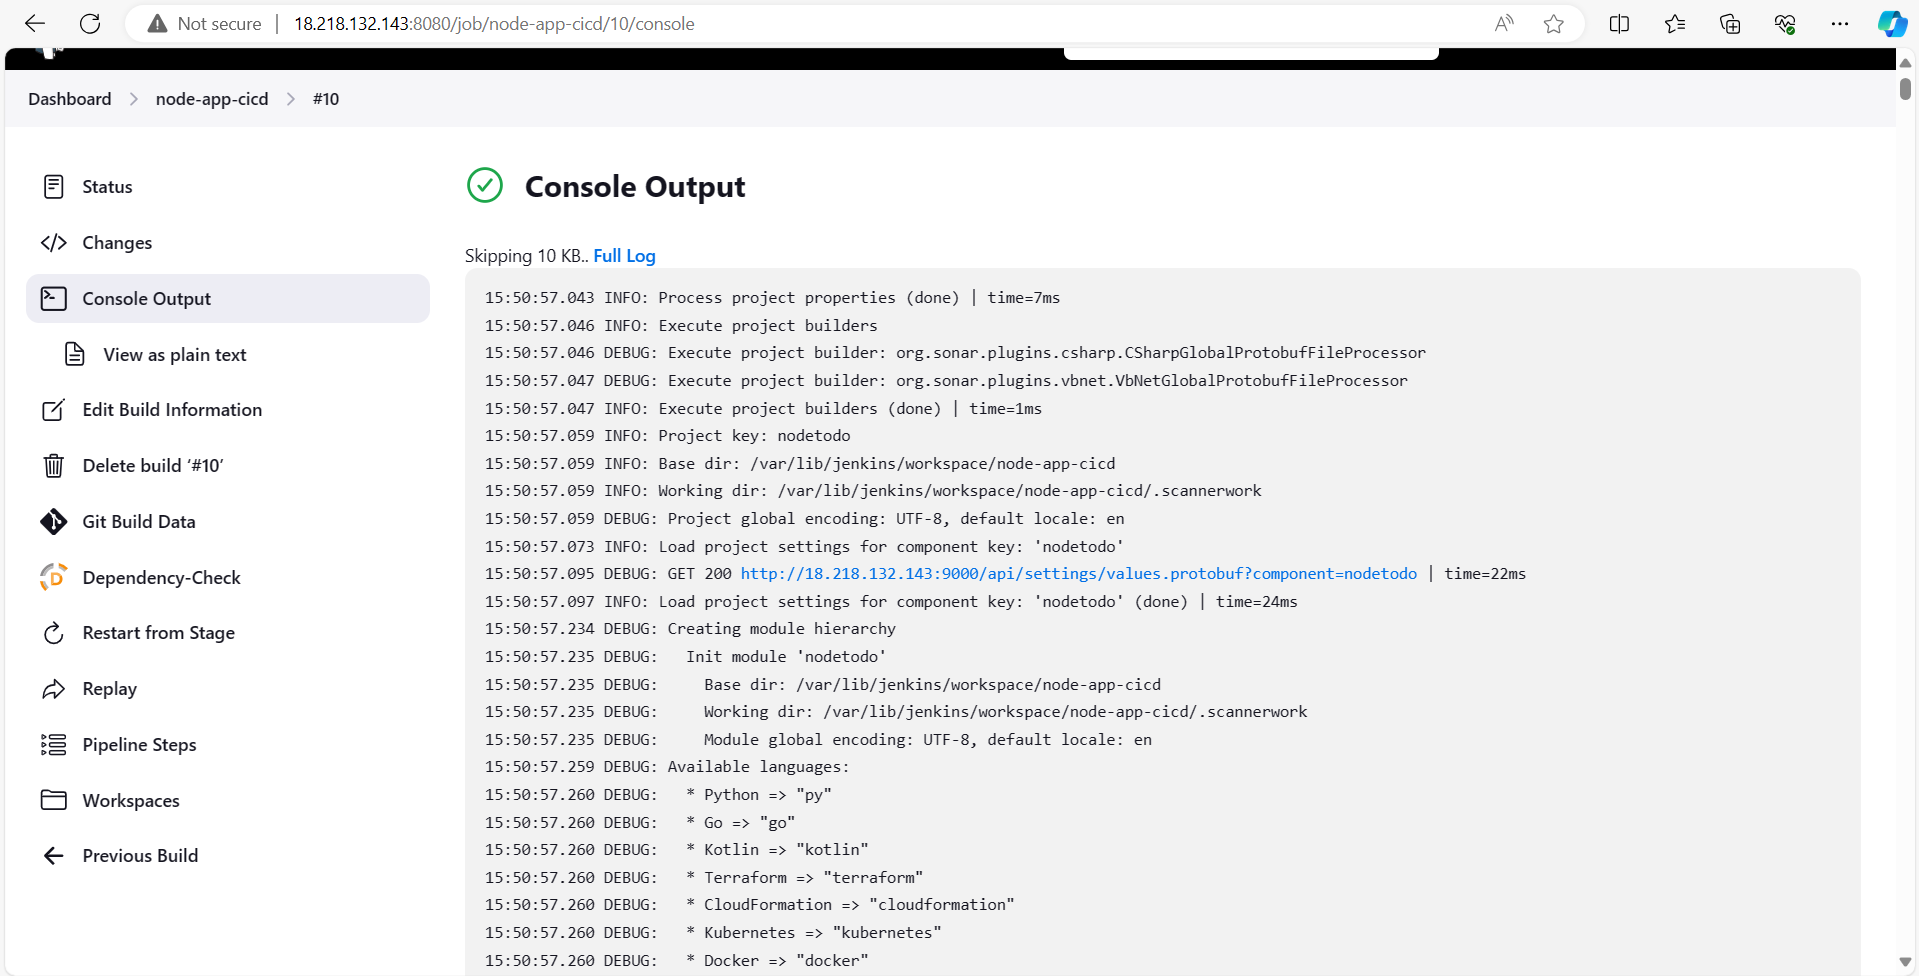
Run the Pipeline:
Jenkins will automatically pull the Jenkinsfile from your GitHub repository and execute the pipeline.
Monitor the pipeline execution in the Jenkins dashboard.
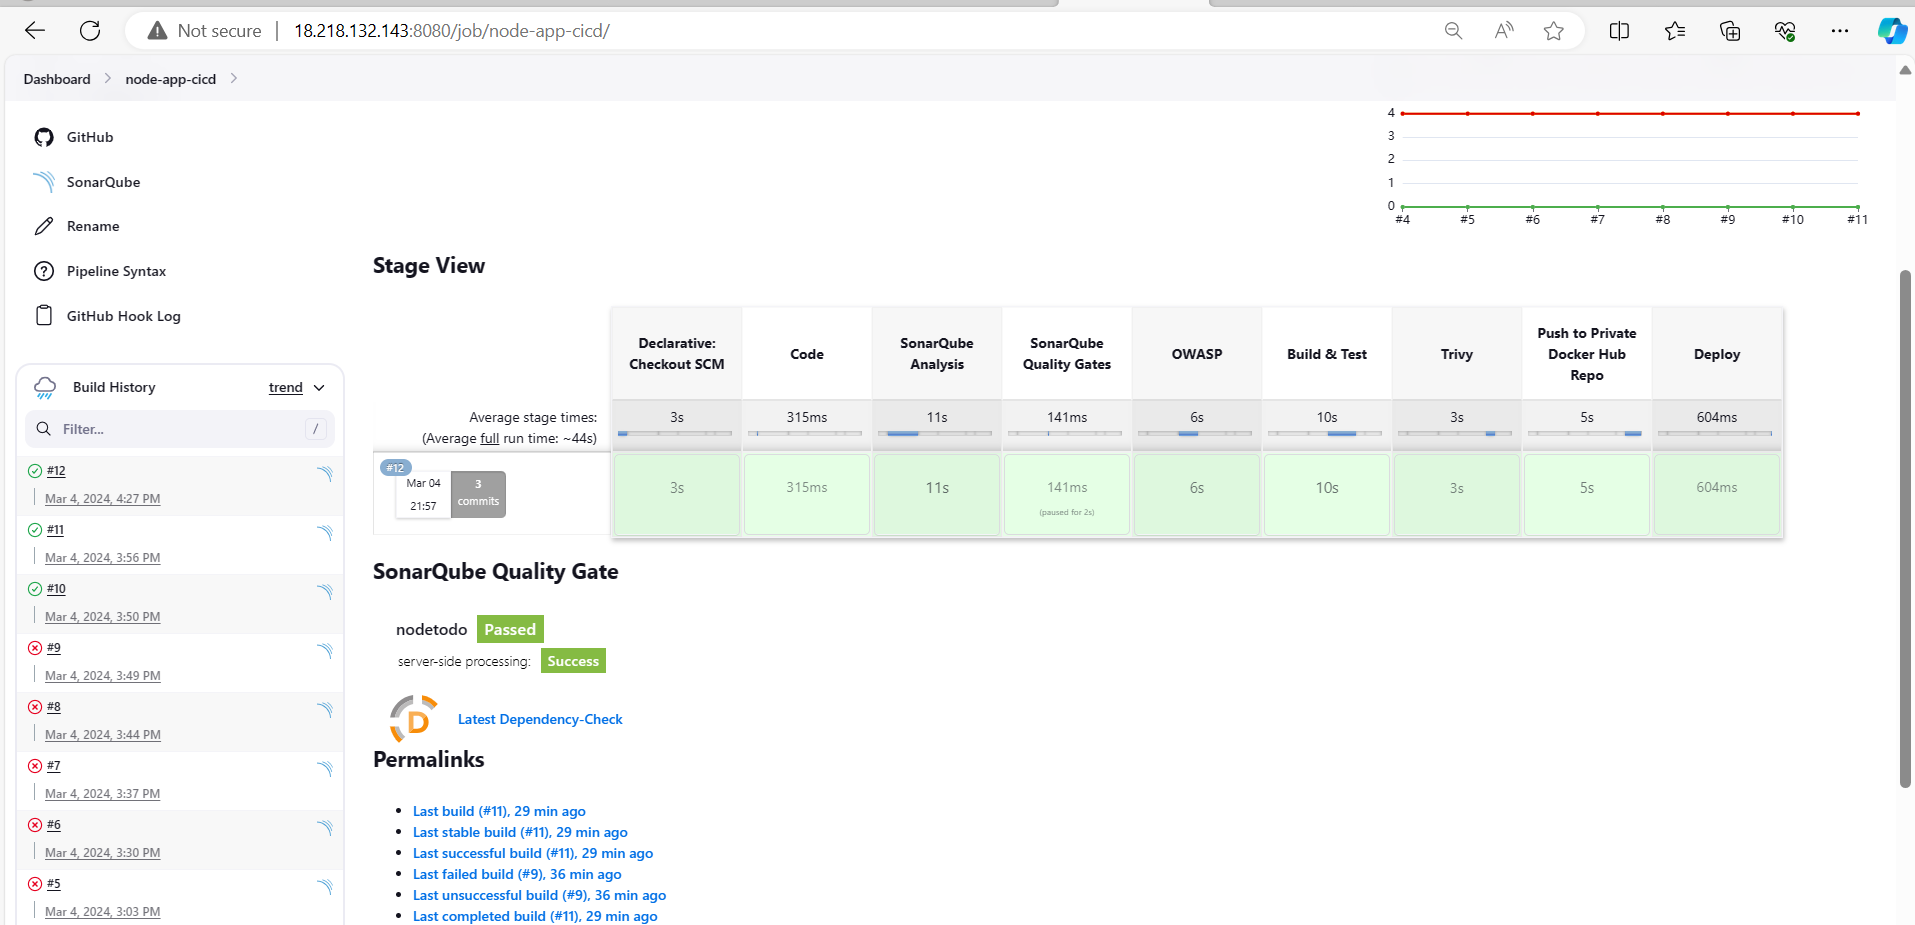
Hurray! 🎉 Our pipeline is working automatically through the SCM Jenkinsfile! 🚀
By following these steps, you can set up your CI/CD pipeline in Jenkins both manually and using the Jenkinsfile from your GitHub repository, ensuring efficient deployment using DevSecOps practices. This detailed guide enables you to successfully configure an end-to-end DevSecOps project, ensuring seamless integration and security throughout the software development lifecycle.


